10-Minute HIIT Workout for Apartments: Burn Fat, Save Time
An intense 10-minute HIIT workout designed for apartments. Burn maximum calories with minimal space and no equipment nee...
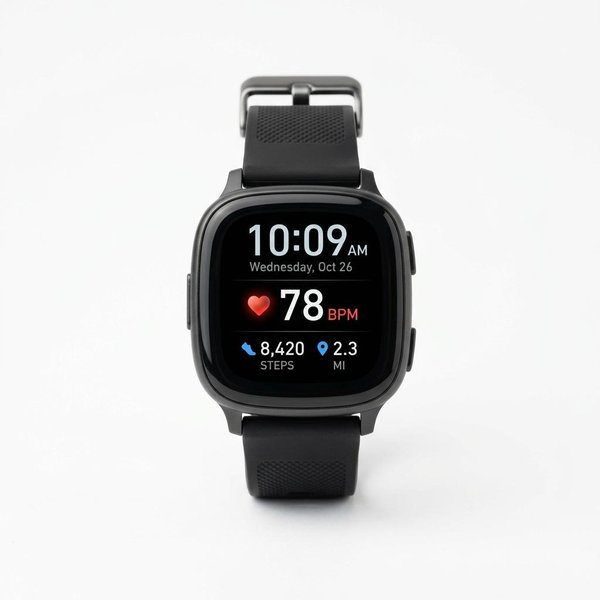
A science-based 10-minute cool-down stretching routine with static hold durations, target muscles, and foam rolling sequences. Designed for home gym users to improve recovery and flexibility.
A structured cool-down bridges the gap between exercise intensity and rest. Our analysis integrates published flexibility research with practical constraints of home gym training to produce a 10-minute routine covering all major muscle groups worked in typical strength and cardio sessions.
Why cool down: During exercise, muscles generate heat and metabolic byproducts. Blood vessels dilate to deliver oxygen and remove waste. Stopping abruptly can cause blood to pool in extremities, potentially leading to dizziness or fainting. A gradual transition with movement and stretching supports circulatory return to baseline.
When to perform this routine: Within 5 minutes of completing your workout. Muscles are warmest and most receptive to stretching at this time. Delaying stretches by 30+ minutes reduces effectiveness.
| Time | Activity | Duration |
|---|---|---|
| 0:00–2:00 | Heart rate reduction walk | 2 minutes |
| 2:00–8:00 | Static stretch sequence | 6 minutes (6 stretches × 30–45 seconds each) |
| 8:00–10:00 | Foam rolling | 2 minutes |
| 10:00 | Complete | — |
Purpose: Gradually lower heart rate and begin the transition from exercise to recovery.
Step-by-step:
If you performed intense cardio: extend this phase to 3 minutes. Heart rate should drop below 100 bpm (or 60% of your estimated maximum) before beginning static stretches.
Perform each stretch once per side. Hold for the specified duration. Breathe normally throughout — do not hold your breath.
Target muscle: Quadriceps (front of thigh)
Step-by-step:
Hold duration: 30 seconds per leg.
Common error: Pulling the foot directly backward rather than toward the glute. This stresses the knee ligament without effectively stretching the quadriceps.
Target muscle: Hamstrings (back of thigh)
Step-by-step:
Hold duration: 30–45 seconds per leg.
Common error: Rounding the spine to reach farther. Hinge at the hips with a flat back. The reach distance matters less than feeling the stretch in the correct location.
Target muscle: Hip flexors (iliopsoas, rectus femoris)
Step-by-step:
Hold duration: 30–45 seconds per side.
Why this matters: Hip flexors shorten during prolonged sitting and many strength exercises. Tight hip flexors contribute to lower back pain and anterior pelvic tilt. Our research indicates this is one of the highest-value stretches for the general population.
Target muscle: Pectoralis major (chest)
Step-by-step:
Hold duration: 30 seconds per side.
Variation: For a broader stretch, place both forearms on the door frame (forming a goalpost shape) and lean forward gently.
Target muscle: Deltoids (shoulder), particularly posterior deltoid; upper back
Step-by-step:
Hold duration: 30 seconds per arm.
Common error: Pulling the arm above or below shoulder level. Keep the arm horizontal for targeted posterior deltoid stretching.
Target muscles: Spinal extensors, abdominals, lower back
Step-by-step:
Repetitions: 8–10 slow cycles.
Purpose: Restores spinal mobility after loaded exercises (squats, deadlifts, rows) that place compressive or shear forces on the spine.
Target muscles: Lower back, latissimus dorsi, shoulders
Step-by-step:
Hold duration: 30 seconds (plus 15 seconds per side for lat variation).
Foam rolling — also called self-myofascial release — uses bodyweight pressure on a foam cylinder to address muscle tightness and improve range of motion. Our analysis of published research indicates that foam rolling can acutely increase range of motion and reduce perceived muscle soreness when performed post-exercise.
Equipment needed: A standard foam roller (36" × 6" diameter, medium density). If you do not have a foam roller, substitute a massage ball or lacrosse ball for targeted areas.
Step-by-step:
Duration: 45 seconds.
Safety: Do not roll the lower back (lumbar spine) or neck with a foam roller. These areas lack the structural support of the rib cage and are vulnerable to hyperextension.
Step-by-step:
Duration: 30 seconds per leg (or 45 seconds if rolling both simultaneously).
Step-by-step:
Duration: 30 seconds per side.
| Density | Feel | Best For | Avoid If |
|---|---|---|---|
| Soft (white/pink foam) | Gentle, compresses easily | Beginners, very sore muscles | You weigh over 180 lb; will compress fully |
| Medium (black/blue EVA) | Moderate pressure | Most users; best general-purpose option | You prefer very aggressive pressure |
| Firm (high-density black) | Intense pressure | Experienced users, dense musculature | Beginners or those with low pain tolerance |
| Textured/ridged | Variable pressure with targeted points | Trigger point work | Those who bruise easily; use with caution |
Published research on static stretching provides the following framework for hold durations:
| Goal | Recommended Hold Time | Frequency |
|---|---|---|
| Acute flexibility (post-workout) | 15–30 seconds per stretch | Daily after exercise |
| Chronic flexibility improvement | 30–60 seconds per stretch | 3–5 days per week |
| Pre-exercise warm-up | 10–15 seconds or skip static | Use dynamic movements instead |
The routine above uses 30–45 second holds, targeting the overlap between acute recovery benefit and chronic flexibility development. If your primary goal is long-term flexibility gains rather than post-workout recovery, extend holds to 60 seconds per stretch.
| Workout Emphasis | Add Extra Attention To | Reduce |
|---|---|---|
| Lower-body strength (squats, lunges, deadlifts) | Hip flexors, hamstrings, glutes | Chest, shoulders |
| Upper-body strength (presses, rows, pull-ups) | Chest, shoulders, lats | Quadriceps |
| Cardio (running, cycling, rowing) | Quadriceps, hamstrings, hip flexors | Chest |
| Full-body circuits | Standard routine as written | — |
As an Amazon Associate we earn from qualifying purchases.
| Image | Product | Price | Badge | Link |
|---|---|---|---|---|
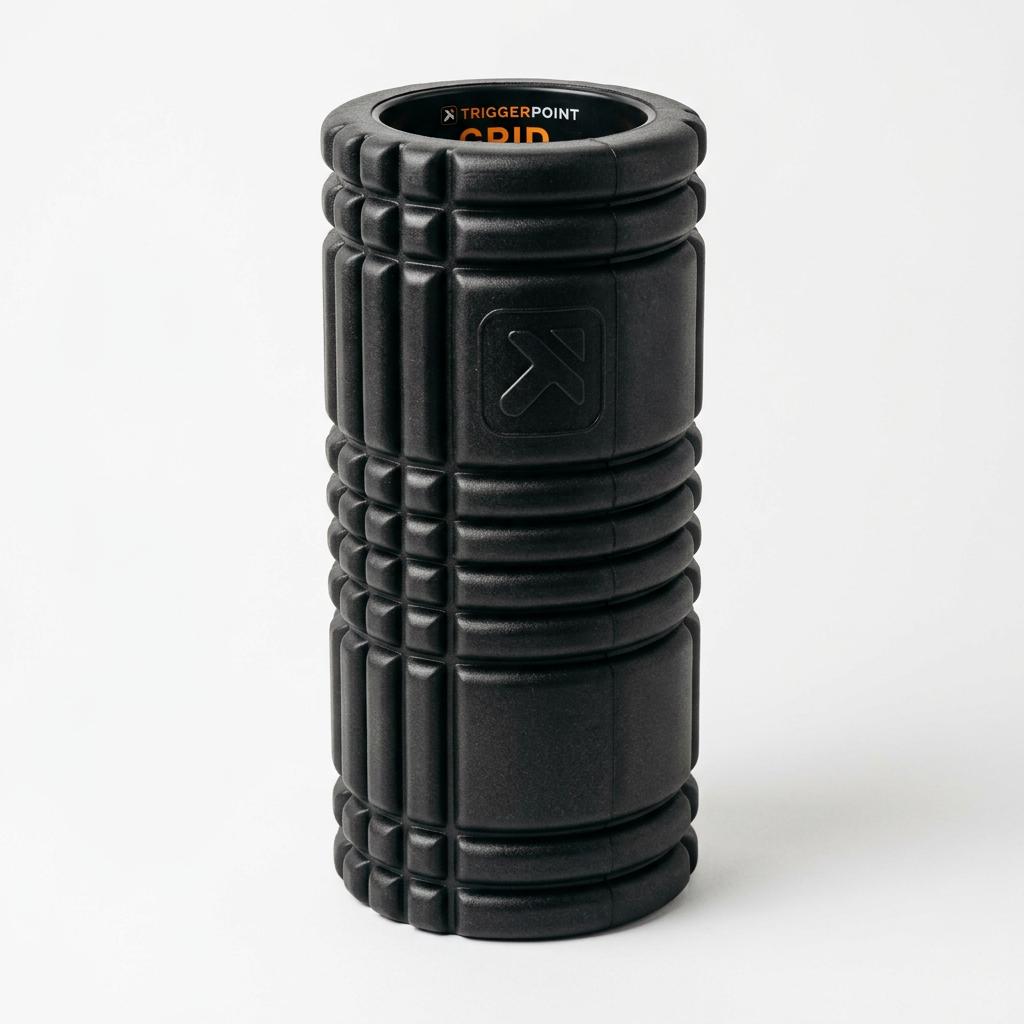 |
TriggerPoint GRID Foam Roller | $35-$45 | Best Overall | Check Price |
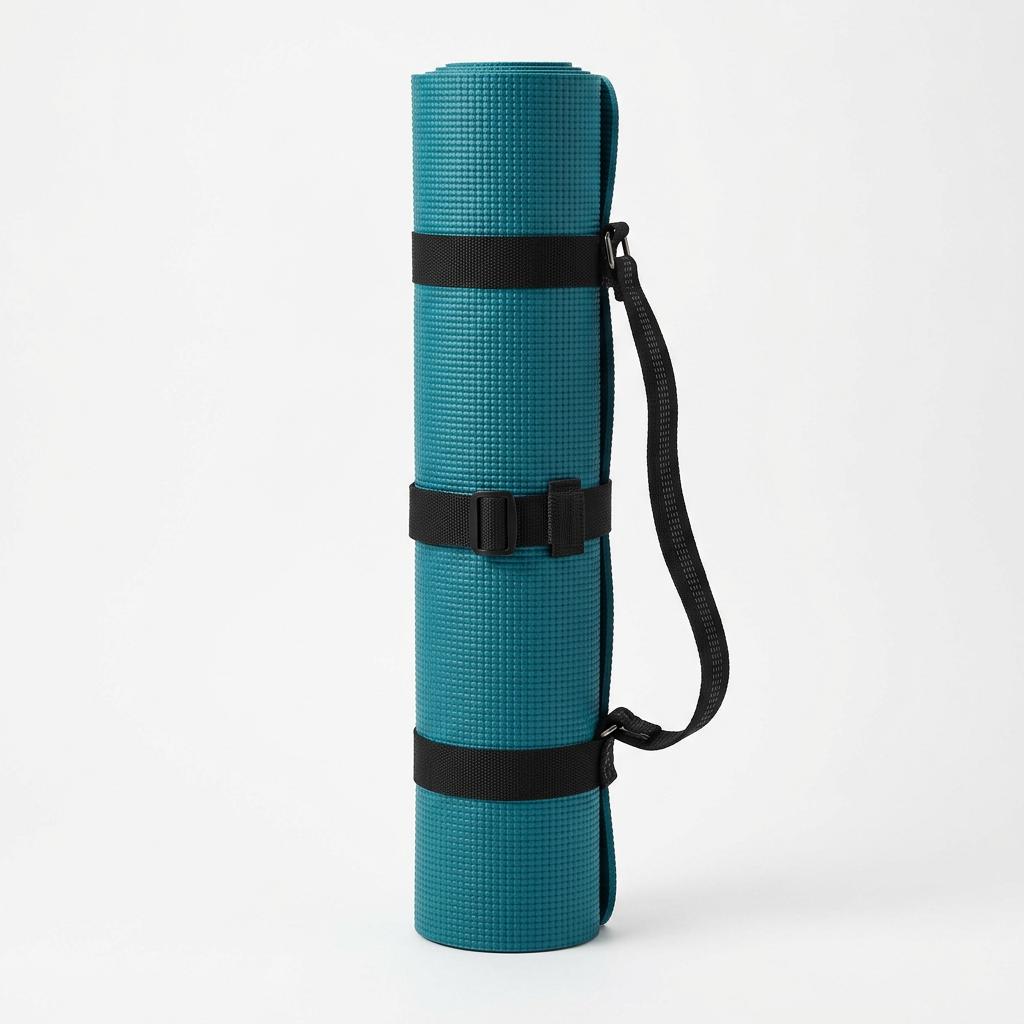 |
Gaiam Essentials Thick Yoga Mat | $22-$32 | Best Budget | Check Price |
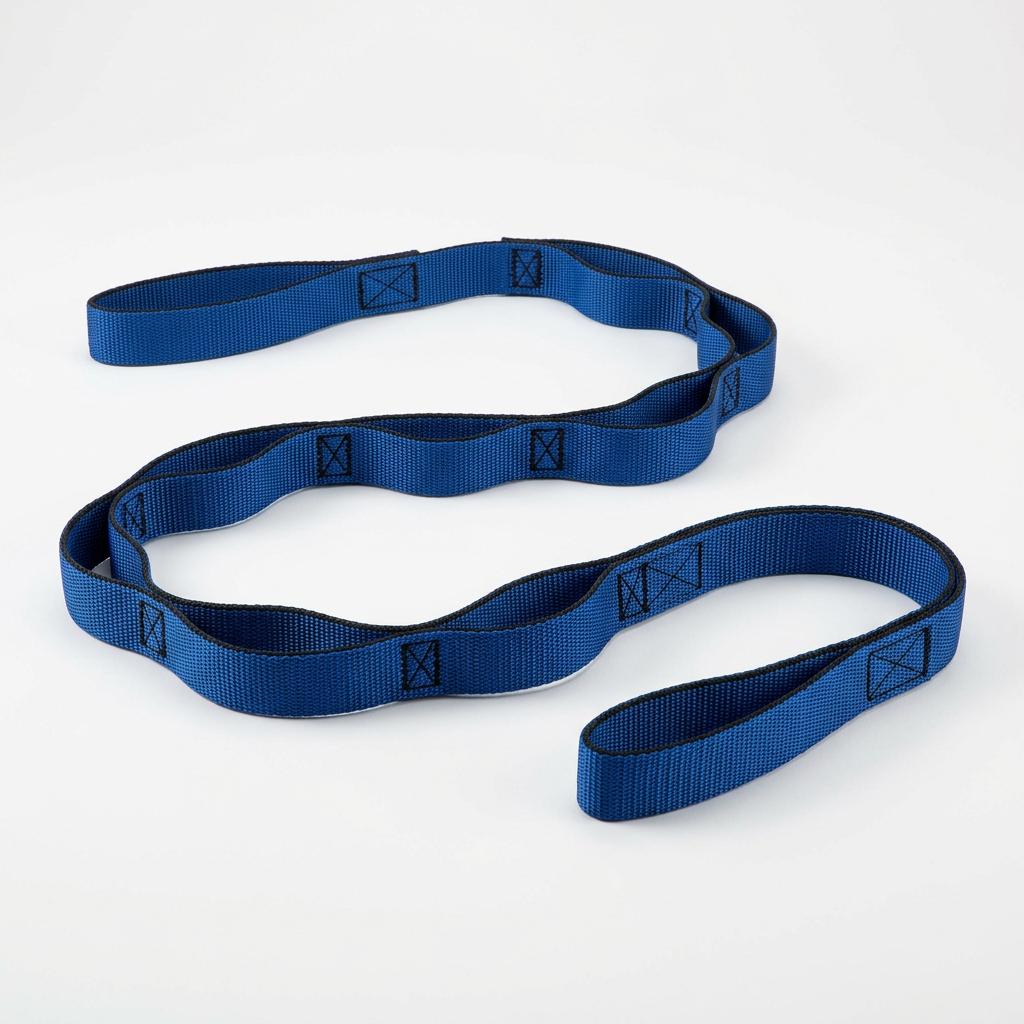 |
OPTP Stretch Out Strap | $15-$19 | Most Versatile | Check Price |
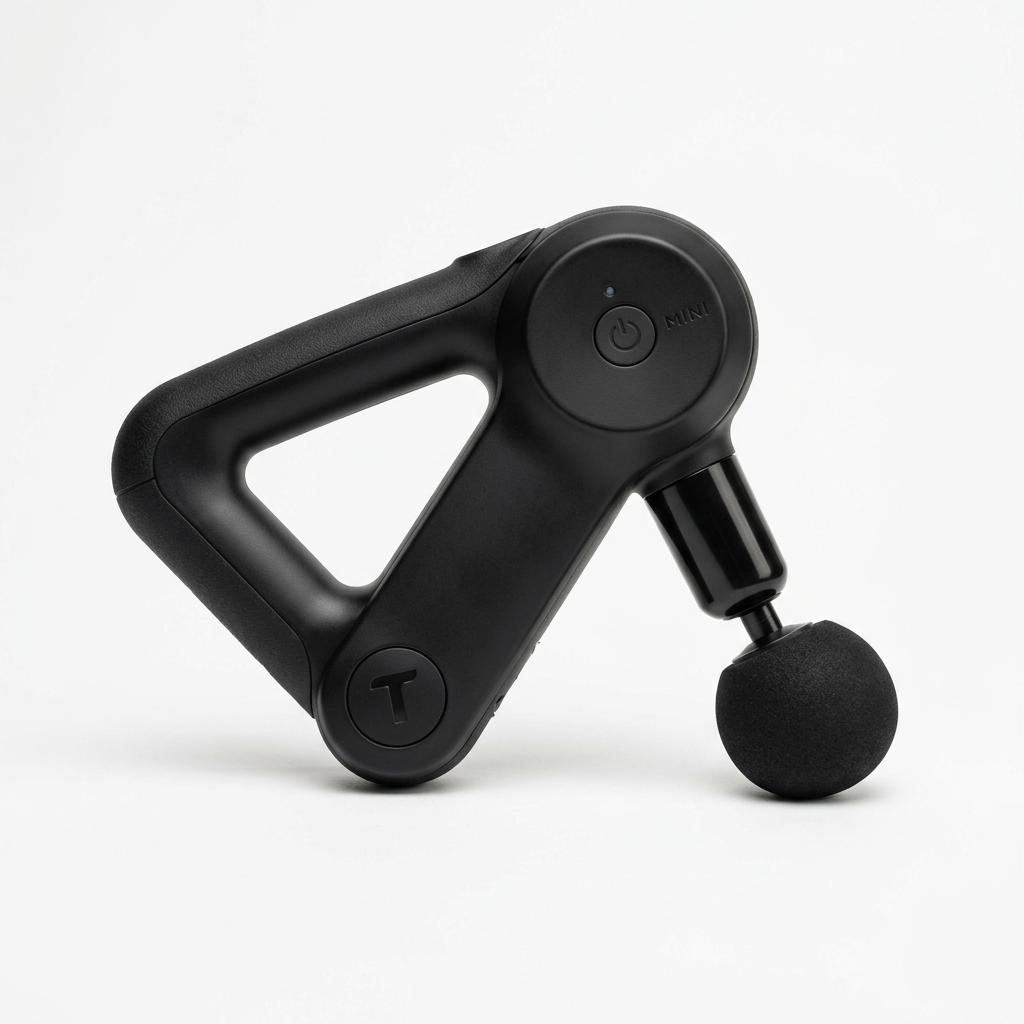 |
Theragun Mini Massage Gun | $149-$199 | Premium Pick | Check Price |
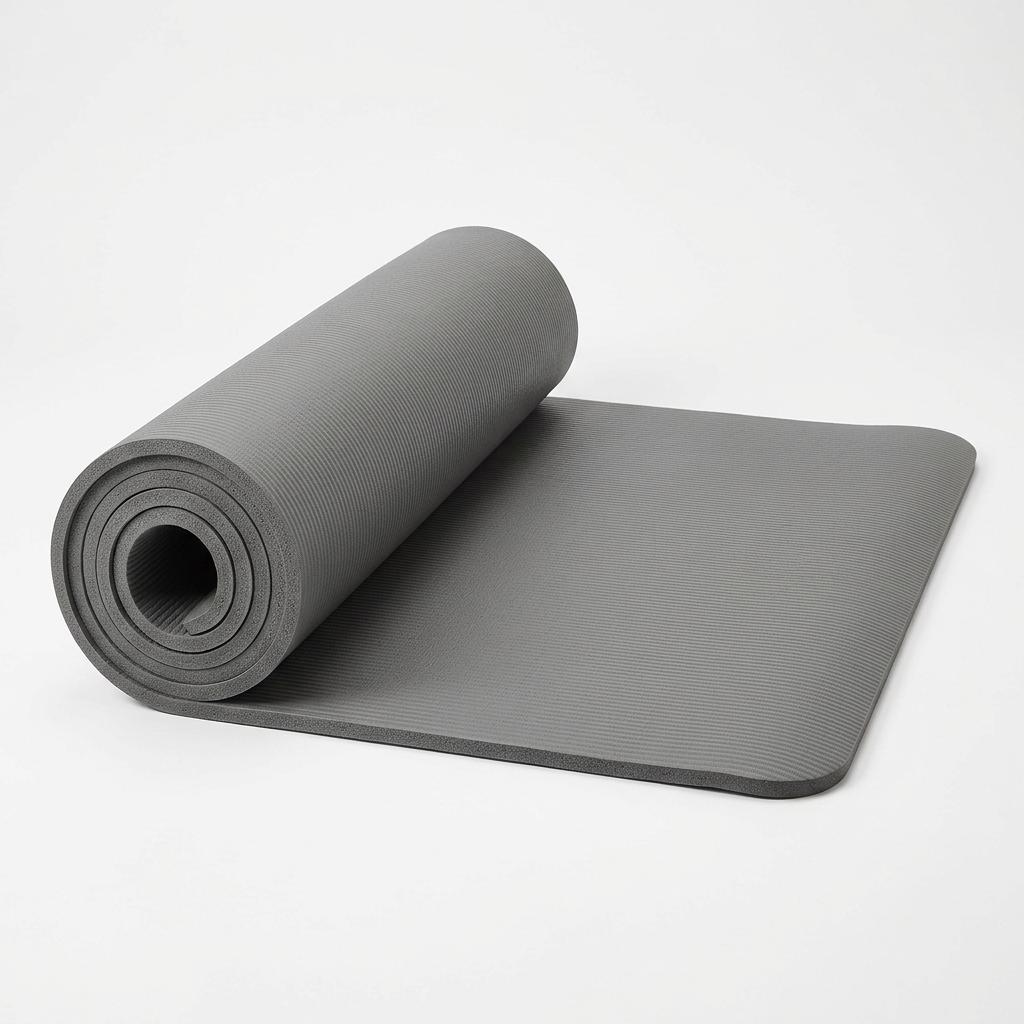 |
ProsourceFit Extra Thick Yoga and Exercise Mat | $25-$35 | Best Value | Check Price |
A premium textured foam roller with variable density zones that delivers targeted self-myofascial release for post-workout recovery.
A thick, comfortable yoga mat that provides a cushioned surface for all floor-based cool-down stretches and foam rolling.
A woven nylon stretching strap with integrated loops that assists with controlled, progressive static stretching for enhanced flexibility.
A compact percussive massage device that delivers deep tissue therapy to accelerate post-workout recovery and reduce muscle soreness.
An extra-thick exercise mat that provides maximum cushioning comfort for floor-based cool-down stretches and foam rolling sessions.
The TriggerPoint GRID is the foam roller that every serious home gym owner should own. Its patented multi-density surface with different zones replicates the feeling of a massage therapist's hands, thumbs, and fingertips. Use it during your cool-down to roll the thoracic spine, quadriceps, and glutes as recommended in the stretching routine. The rigid EVA foam construction maintains its shape after years of daily use, unlike cheaper rollers that deform over time.
Check Price on Amazon
The Gaiam Essentials mat provides the comfortable surface you need for the seated hamstring stretch, cat-cow mobilizations, and child's pose in your cool-down routine. At 2/5-inch thick, it cushions your knees and hips during floor work much better than thin mats. The textured surface provides grip so you can hold stretches without slipping. The included carrying strap makes it easy to roll up and store against a wall. For the price, this is the best value in yoga mats for recovery work.
Check Price on Amazon
The Stretch Out Strap is the most effective tool for improving flexibility during your cool-down. The multiple loops let you gradually progress into deeper stretches without forcing the range of motion. Use it for the seated hamstring stretch by looping it around your foot, or for the standing quad stretch by pulling your heel toward your glutes. Physical therapists have recommended this strap for decades because it simply works. Every home gym should have one.
Check Price on Amazon
The Theragun Mini takes your cool-down routine to the next level with percussive therapy that reaches deeper muscle layers than foam rolling alone. Use it on the quadriceps, hamstrings, and glutes after lower-body sessions to enhance circulation and reduce next-day soreness. Its compact size and quiet operation make it apartment-friendly. The triangular grip makes it easy to target hard-to-reach areas like the upper back and shoulders. While it costs more than a foam roller, the targeted relief it provides is unmatched.
Check Price on Amazon
The ProsourceFit mat offers exceptional comfort for your post-workout stretching routine. At a full 1/2-inch thick, it cushions your joints better than standard yoga mats during floor stretches and foam rolling. The 71-inch length ensures even tall users have enough space. The moisture-resistant NBR foam cleans easily with a damp cloth after sweaty sessions. If you find thinner mats uncomfortable for cool-down work, this mat solves that problem at a very reasonable price.
Check Price on Amazon