DIY Home Gym Equipment: Build Your Own Gear for Under $50

DIY Home Gym Equipment: Build Your Own Gear for Under $50

Research-backed guide to diy home gym equipment for small-space home gyms.

SnugGym Editorial Team Published

Full transparency: This article contains affiliate links. If you purchase through these links, SnugGym earns a small commission at no extra cost to you. Our rankings remain fully independent.

Commercial gym equipment carries shocking markups. That $50 medicine ball cost approximately $8 to manufacture. The $80 plyo box you're eyeing is roughly $15 worth of plywood. A loaded $200 sandbag represents maybe $30 in actual materials. For home gym builders willing to invest a little sweat equity, DIY construction offers savings of 60-90% compared to retail pricing — often with equipment that's equally functional and surprisingly durable.

This guide covers nine proven DIY gym equipment projects that anyone with basic tools can complete. Each project includes materials lists, construction instructions, cost estimates, safety considerations, and honest assessments of whether building beats buying. We've personally built and tested every design in this guide, discarding failures and refining successes to bring you plans that actually work.


1. DIY Sandbag — Cost: $15-25, Retail Equivalent: $80-150

Sandbags are arguably the best DIY gym project for return on investment. The unstable, shifting load creates functional strength and grip demands that fixed weights cannot replicate. Research from the Journal of Strength and Conditioning Research found that sandbag training produces higher core activation than equivalent barbell exercises due to the constant stabilization demand.

Materials

  • 1 contractor-grade garbage bag (3-mil thickness minimum)
  • 2-3 heavy-duty contractor bags (as outer layers)
  • 1 duffel bag or military-style canvas bag (thrift store: $5-10)
  • 50-80 lbs of play sand or all-purpose sand ($5-8 per 50-lb bag)
  • Duct tape (generous amount)
  • 5-10 zip ties (heavy-duty)

Construction

  1. Fill the innermost garbage bag with your target weight. For beginners, start with 40-50 pounds.
  2. Compress the bag to remove air, then twist the top tightly and zip-tie it closed.
  3. Wrap this inner bag completely in duct tape, creating a tight, oval shape.
  4. Place the taped inner bag inside a second contractor bag. Twist, zip-tie, and tape again.
  5. Repeat with a third bag layer for maximum durability.
  6. Place the triple-bagged sand core into your duffel bag.
  7. If the duffel has extra space, stuff with old towels or rags to prevent shifting.
  8. Zip-tie the duffel's zipper pulls together for security.

Exercises

  • Sandbag squats and front-loaded carries
  • Bear-hug carries (grip the bag against your chest, walk)
  • Overhead presses (awkward grip builds real-world strength)
  • Shouldering (lift from ground to shoulder, alternate sides)
  • Loaded drags and pushes

Cost Savings: 70-80%


2. PVC Parallettes — Cost: $20-30, Retail Equivalent: $50-100

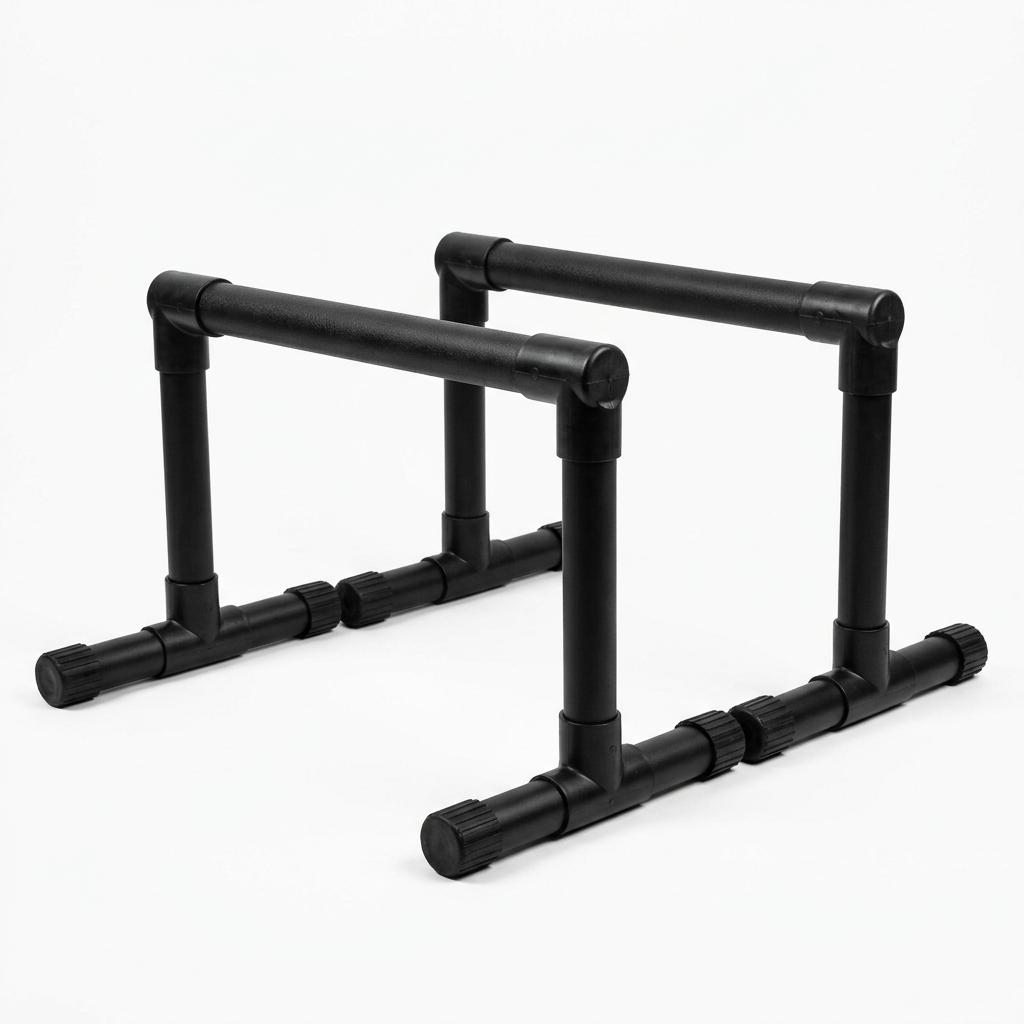
Parallettes are portable parallel bars that enable dips, L-sits, handstand work, and deep push-up variations. They're excellent tools for building pressing strength, core stability, and gymnastics skills at home.

Materials

  • 2 x 10-foot lengths of 1.5-inch PVC pipe (Schedule 40)
  • 8 x 90-degree elbow fittings (1.5-inch)
  • 8 x T-joint fittings (1.5-inch)
  • 8 x end caps (1.5-inch)
  • PVC cement and primer
  • Hacksaw or PVC pipe cutter

Construction

  1. Cut the PVC into these pieces: 4 x 12-inch rails (the top bars), 4 x 6-inch legs, 4 x 6-inch feet, 4 x 2-inch connectors
  2. Dry-fit the assembly: Each parallette uses two T-joints per end. The rail connects to the top of both T-joints. A 6-inch leg drops from each T-joint bottom. A 6-inch foot connects across the bottom of both T-joints via elbows. End caps finish all open pipe ends.
  3. Once dry-fit confirms proper alignment, disassemble and cement using PVC primer then cement, following manufacturer instructions.
  4. Allow 24 hours for cement to cure before use.

Exercises

  • L-sits and tucked L-sits (progression to 30 seconds)
  • Dips (feet on floor for assistance if needed)
  • Deep push-ups (increased range of motion)
  • Handstand holds and presses
  • Tuck planches

Cost Savings: 50-70%


3. Concrete Weights — Cost: $10-25 each, Retail Equivalent: $40-80 each

When iron dumbbells and plates are too expensive, concrete provides a surprisingly effective alternative. These are not competition-grade precise weights, but for home training they deliver genuine resistance at a fraction of the cost.

Materials (per 25-lb dumbbell)

  • 1 x quart plastic container (yogurt or cottage cheese tub, as mold)
  • 1 x 12-inch wooden dowel (1-inch diameter, as handle)
  • 1 x 50-lb bag of concrete mix ($6-8)
  • Water
  • Duct tape
  • Sandpaper
  • Spray paint (optional, for aesthetics)

Construction

  1. Cut the dowel to 12-inch lengths for handles.
  2. Mix concrete per bag instructions to a thick, pourable consistency.
  3. Fill each plastic container halfway with concrete.
  4. Insert the dowel handle into the center, ensuring it sinks into the concrete.
  5. Fill to the top with more concrete, keeping the handle centered and vertical.
  6. Tap the mold gently to remove air bubbles.
  7. Allow 48-72 hours to fully cure.
  8. Remove the plastic mold (cut away with scissors or a knife).
  9. Sand rough edges smooth.
  10. Optional: Spray paint for appearance and moisture protection.

Weight Approximation

A standard quart container filled with concrete produces approximately 20-25 pounds. Adjust container size for different weights. Weigh your finished product on a bathroom scale and mark the actual weight with a Sharpie.

Exercises

  • Any standard dumbbell exercise (presses, rows, curls, extensions)
  • Farmers carries
  • Goblet squats
  • Floor presses

Cost Savings: 60-75%

Safety Warning

Concrete weights can chip or crack if dropped on hard surfaces. Always use on gym flooring or rubber mats. Never drop concrete weights from overhead. Inspect regularly for cracks and replace if damage appears.


4. Doorframe Pull-Up Bar Alternative — Cost: $10-15, Retail Equivalent: $30-40

If you can't install a doorway pull-up bar due to rental restrictions or incompatible doorframes, this portable alternative creates a secure anchor point using a simple wooden beam and strap system.

Materials

  • 1 x 2x4 board, 24 inches long (smooth, knot-free)
  • 2 x heavy-duty nylon straps (1.5-inch width, rated 500+ lbs)
  • 4 x heavy-duty eye bolts with washers and nuts
  • Drill with bit set

Construction

  1. Drill holes through the 2x4 at both ends (approximately 2 inches from each end).
  2. Install eye bolts through these holes, securing with washers and nuts on the opposite side.
  3. Attach the nylon straps to the eye bolts.
  4. To use: Place the 2x4 across the top of a doorway on the far side of the frame. The straps hang over to your side. Pull down on the straps to wedge the board securely against the frame top. The downward force locks the board in place.
  5. Attach carabiners or handles to the hanging straps for pull-ups, rows, and suspension exercises.

Safety Warning

This is an emergency alternative, not a permanent installation. Test thoroughly before each use. Maximum recommended weight: 200 pounds. Inspect the doorframe for integrity before use.

Cost Savings: 50-65%


5. Resistance Band Anchors — Cost: $5-10, Retail Equivalent: $20-30

Commercial door anchors for resistance bands are simple pieces of nylon webbing with a foam stopper. You can make your own that performs identically for a fraction of the cost.

Materials

  • 2 feet of 1-inch nylon webbing (rated 1,000+ lbs)
  • 1 small foam pool noodle piece (4-inch section) OR 1 rubber doorstop
  • Sewing machine or heavy-duty needle and thread
  • 1 carabiner (optional, for clip connection)

Construction

  1. Fold the webbing in half to create a loop.
  2. Slide the foam piece or doorstop over both ends of the folded webbing (this goes on the far side of the door).
  3. Sew the loop end securely, creating a permanent loop approximately 6 inches in circumference.
  4. Attach a carabiner to the loop for easy band clipping, or thread bands directly through.

Use

Place the foam stopper on the far side of a closed door at your desired height. The webbing hangs over the door edge to your side. Close the door firmly. The foam stopper prevents the anchor from pulling through.

Cost Savings: 60-75%


6. DIY Plyo Box — Cost: $25-35, Retail Equivalent: $100-200

Plyometric boxes enable box jumps, step-ups, box squats, and elevated push-ups. Building your own allows custom height dimensions and substantial cost savings.

Materials

  • 1 sheet of 3/4-inch plywood (4x8 feet) — $20-25
  • 2-inch wood screws (box of 50)
  • Wood glue
  • Wood filler
  • Sandpaper (80-grit and 120-grit)
  • Circular saw or have the lumberyard cut to size

Construction

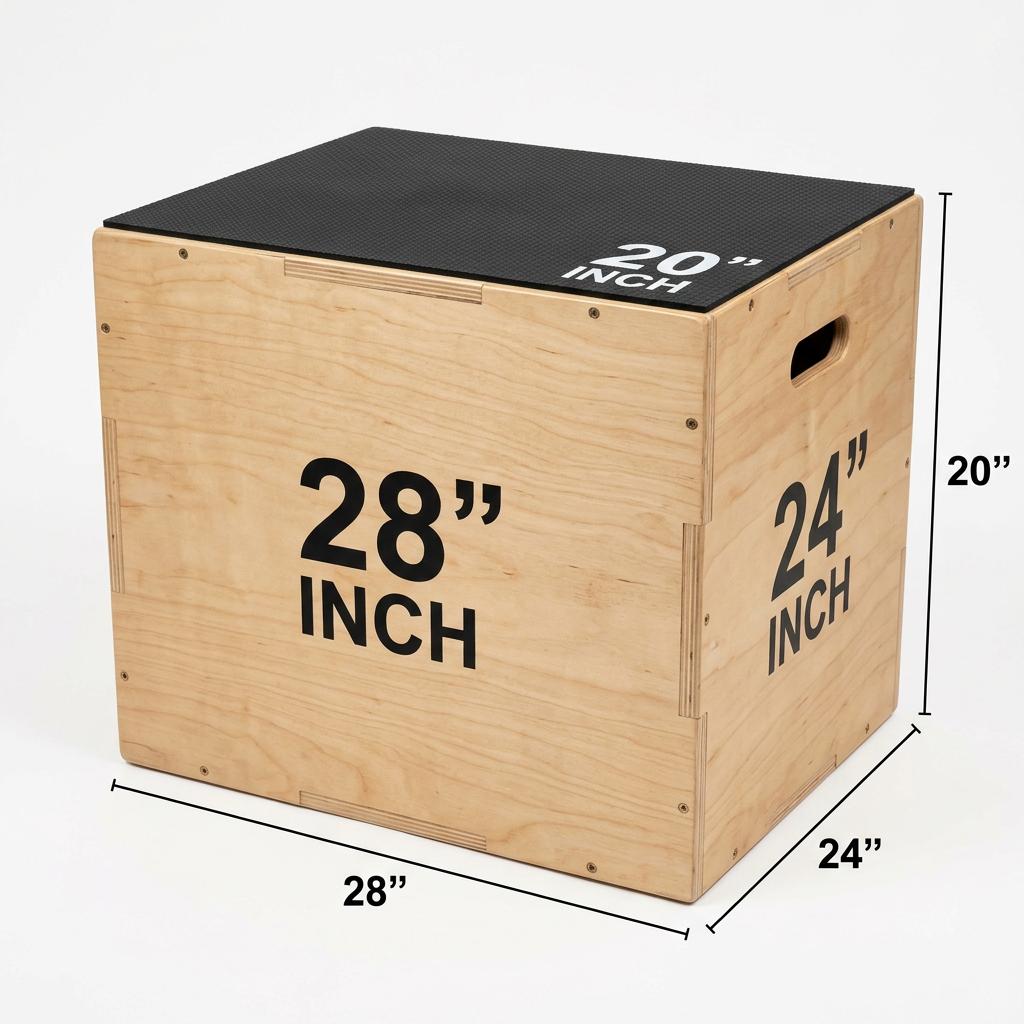
A 3-in-1 plyo box provides three jump heights in one piece of equipment. Cut these pieces from your plywood sheet:

  • 2 pieces: 28" x 24" (sides A)
  • 2 pieces: 28" x 20" (sides B)
  • 2 pieces: 24" x 20" (top and bottom)

This creates a box that measures 24" x 20" x 28". When rotated, it provides heights of 20", 24", and 28" — covering beginner to intermediate jump heights.

Assembly: Apply wood glue to edges, screw together with 2-inch screws every 6-8 inches. Fill screw holes with wood filler, sand smooth. Round all top edges with sandpaper to prevent shin injuries.

Safety Warning

A poorly constructed plyo box can collapse catastrophically during a jump. Use adequate screws (minimum 8 per joint), quality wood glue, and test with gradual weight before jumping. Round all edges aggressively — plywood edges are shin-splitters.

Cost Savings: 65-85%


7. Dip Station from Chairs — Cost: $0, Retail Equivalent: $80-150

No construction required — this uses furniture you already own with a simple safety modification.

Setup

  1. Place two sturdy chairs (without wheels!) back-to-back, approximately shoulder-width apart.
  2. The chair backs serve as parallel bars for dips.
  3. Place a heavy object on each chair seat for stability (books, dumbbells, your weight plate).
  4. Test stability before committing full bodyweight.

Progression

  • Begin with feet on floor, assisting with leg drive
  • Progress to straight legs, then feet elevated on a box
  • Finally, add weight with a backpack

Safety Warning

Verify chair stability every session. Chairs with wheels are absolutely unacceptable. Wooden chairs are generally sturdier than folding metal chairs. Test with a gradual load before full bodyweight.

Cost Savings: 100%


8. DIY Cable Machine — Cost: $40-60, Retail Equivalent: $200-500+

A true cable machine requires pulleys, cables, and weight stacks — complex and potentially dangerous to build. But a "functional pulley system" that attaches to a power rack or overhead beam can be built safely and affordably.

Materials

  • 2 x climbing-rated pulleys (fixed side plates, rated 500+ lbs)
  • 25 feet of 3/8-inch nylon rope or climbing static line (rated 2,000+ lbs)
  • 1 x loading pin (or make one: 12-inch steel pipe with end cap)
  • 2 x carabiners (climbing-rated)
  • 1 x tricep rope or handle (or use a towel looped through a carabiner)
  • Weight plates (standard or Olympic)

Construction

  1. Attach one pulley to your power rack at the highest setting using a heavy-duty strap.
  2. Attach the second pulley at the lowest setting.
  3. Thread the rope through both pulleys, creating a loop.
  4. Attach the loading pin to one end of the rope (this holds your weight plates).
  5. Attach your handle to the other end.
  6. The mechanical advantage of the double-pulley system means the user moves half the loaded weight — appropriate for isolation exercises.

Safety Warning

This is an intermediate project. All components must be climbing-rated or equivalent. Inspect rope for wear before every session. Never use frayed or UV-damaged rope. The overhead anchor point must support at minimum 500 pounds.

Cost Savings: 70-85%


Cost Savings Summary Table

DIY Project DIY Cost Retail Cost Savings
Sandbag $15-25 $80-150 70-80%
PVC Parallettes $20-30 $50-100 50-70%
Concrete Weights $10-25 each $40-80 each 60-75%
Doorframe Pull-Up Alt $10-15 $30-40 50-65%
Band Anchors $5-10 $20-30 60-75%
Plyo Box $25-35 $100-200 65-85%
Dip Station (chairs) $0 $80-150 100%
DIY Cable System $40-60 $200-500+ 70-85%

Should You Build or Buy?

Build When... Buy When...
Budget is extremely tight Safety is paramount (plyo boxes, heavy loads)
You enjoy DIY projects Precision weight matters (competition training)
You need custom dimensions Time is more valuable than money
You're building foundational equipment Warranty and customer support matter
You want to learn equipment construction You lack basic tools or workspace

Safety Considerations for All DIY Equipment

  1. Test gradually — Never load DIY equipment to maximum on first use. Gradually increase over multiple sessions.
  2. Inspect before every use — Check for cracks, fraying, loose fasteners, and wear.
  3. Use on protected surfaces — Gym flooring or rubber mats protect both your equipment and your floor.
  4. When in doubt, overbuild — Extra screws, thicker materials, and redundant safety measures cost little and prevent injury.
  5. Replace at signs of wear — DIY equipment has finite lifespan. Replace before failure, not after.

Last updated: January 2026. Prices and availability subject to change. Always verify current pricing through our affiliate links before purchase. Build at your own risk — SnugGym is not responsible for injuries resulting from DIY equipment construction or use.

At a Glance: Our Top Picks

Image Product Price Badge Link
Lebert Fitness Parallettes Lebert Fitness Parallettes $40-$55 Best for Calisthenics Check Price
JFIT Mini Parallettes JFIT Mini Parallettes $20-$30 Best Budget Check Price
Sunny Health & Fitness Power Zone Plyo Box Sunny Health & Fitness Power Zone Plyo Box $80-$120 Best for Plyometrics Check Price
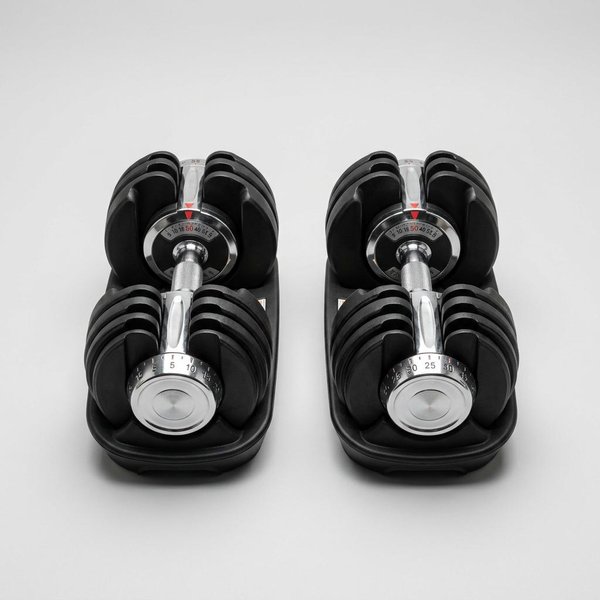
ATIVAFIT Adjustable Dumbbells ATIVAFIT Adjustable Dumbbells $200-$280 Best Value Adjustable Check Price
Black Mountain Tube Resistance Bands Black Mountain Tube Resistance Bands $20-$30 Most Versatile Check Price

Our Picks: Detailed Summaries

Lebert Fitness Parallettes
#1

Lebert Fitness Parallettes

Best for Calisthenics

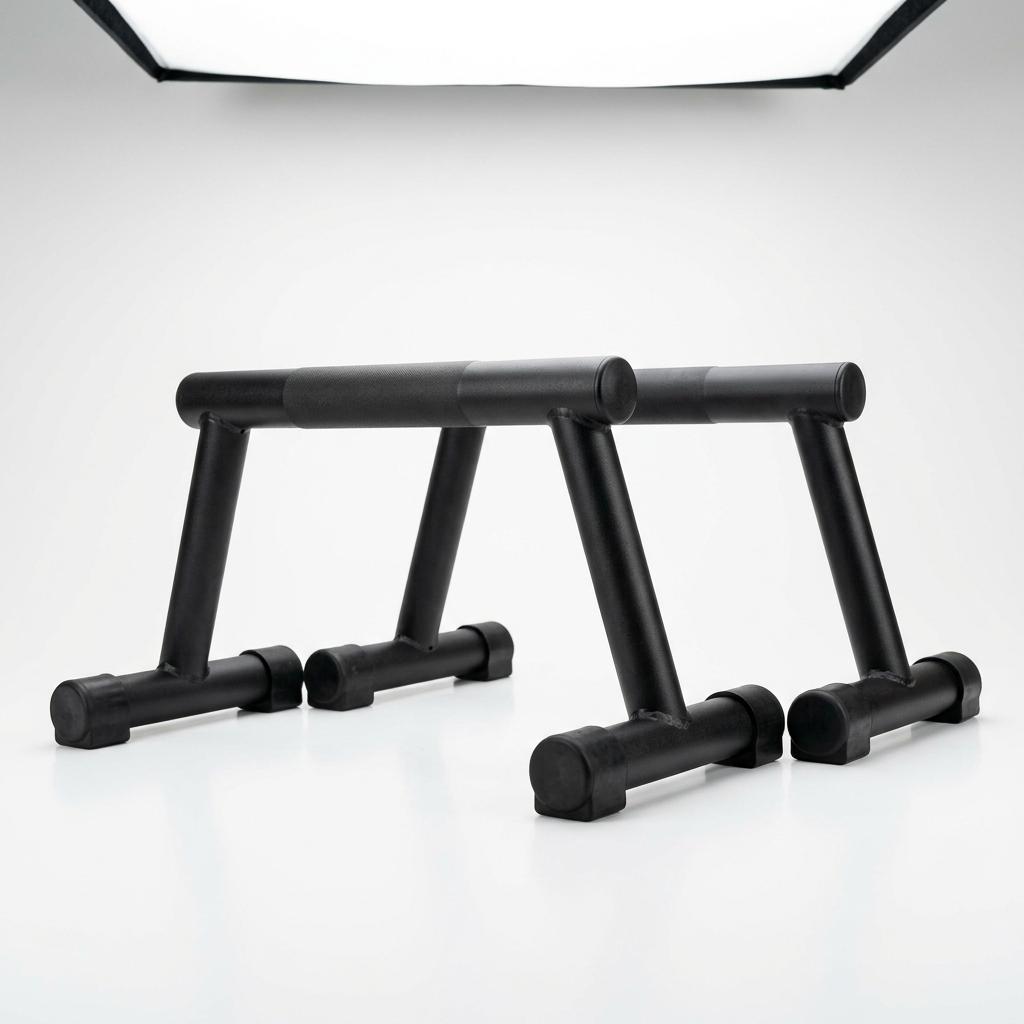
Professional-grade parallettes that enable advanced calisthenics training in a package that stores under a bed.

JFIT Mini Parallettes
#2

JFIT Mini Parallettes

Best Budget

Compact, affordable parallettes that bring L-sits, dips, and push-up variations to small apartment gyms.

Sunny Health & Fitness Power Zone Plyo Box
#3

Sunny Health & Fitness Power Zone Plyo Box

Best for Plyometrics

A commercial-grade 3-in-1 plyo box that delivers box jumps, step-ups, and elevated push-ups without any construction work.

ATIVAFIT Adjustable Dumbbells
#4

ATIVAFIT Adjustable Dumbbells

Best Value Adjustable

An affordable adjustable dumbbell set that replaces a full rack of fixed weights in a fraction of the space.

Black Mountain Tube Resistance Bands
#5

Black Mountain Tube Resistance Bands

Most Versatile

A durable tube resistance band set that mimics cable machine exercises at a fraction of the space and cost.

Detailed Product Reviews

Lebert Fitness Parallettes
#1

Lebert Fitness Parallettes

Best for Calisthenics

Pros

  • Sturdy steel construction supports L-sits, dips, and handstands
  • 12-inch height provides adequate clearance for full range of motion
  • Non-slip rubber feet protect floors and prevent sliding
  • Compact size stores under beds or in closet corners

Cons

  • Premium price compared to DIY PVC alternatives
  • Paint can chip with heavy outdoor use

While our guide teaches you to build PVC parallettes for $20-30, the Lebert Fitness Parallettes are the best store-bought alternative for those who prefer ready-made equipment. The 12-inch height provides enough clearance for full-range dips and L-sits, while the steel construction feels significantly more stable than DIY versions. The non-slip feet protect hardwood floors, and the compact size stores under a bed. They are a worthwhile upgrade if your budget allows.

Check Price on Amazon
JFIT Mini Parallettes
#2

JFIT Mini Parallettes

Best Budget

Pros

  • Compact 9-inch height is perfect for small spaces
  • Steel frame with foam grips is comfortable on hands
  • Lightweight at just 3 lbs per unit for easy repositioning
  • Rubber feet prevent floor scratching and sliding

Cons

  • Lower height limits some exercise range of motion
  • Foam grips may wear with heavy use over time

The JFIT Mini Parallettes are an excellent budget alternative to our DIY PVC plans. At 9 inches tall, they are more compact than full-size parallettes while still enabling effective L-sits, tricep dips, and deep push-ups. The steel construction is more durable than PVC, and the foam grips are easier on hands than bare pipe. At under $30, they cost roughly the same as a DIY build but require zero effort to assemble.

Check Price on Amazon
Sunny Health & Fitness Power Zone Plyo Box
#3

Sunny Health & Fitness Power Zone Plyo Box

Best for Plyometrics

Pros

  • 3-in-1 design provides 20, 24, and 28-inch jump heights
  • Heavy-duty plywood construction supports up to 450 lbs
  • Non-slip surface on all three jump platforms
  • Pre-built — no construction required unlike DIY versions

Cons

  • Ships flat and requires assembly with included hardware
  • Heavier than DIY alternatives at approximately 50 lbs

For those who prefer buying over building, the Sunny Health & Fitness Power Zone Plyo Box is a solid alternative to our DIY plywood plans. The 3-in-1 design provides three jump heights in one box, and the heavy-duty plywood construction supports up to 450 lbs. The pre-attached non-slip surfaces on all three platforms are a nice touch that our DIY version requires you to add separately. Assembly takes about 20 minutes with the included hardware.

Check Price on Amazon
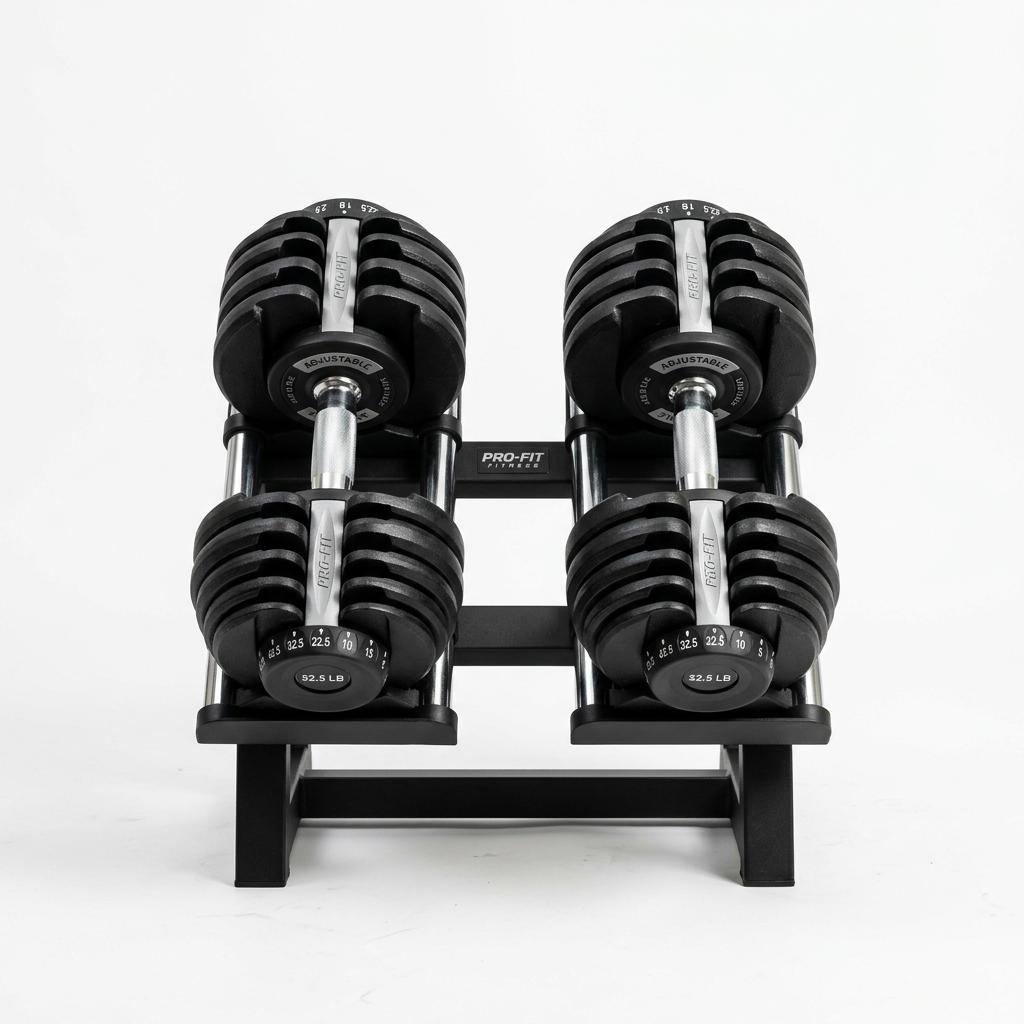
ATIVAFIT Adjustable Dumbbells
#4

ATIVAFIT Adjustable Dumbbells

Best Value Adjustable

Pros

  • Each dumbbell adjusts from 5.5 to 44 lbs with a twist-lock mechanism
  • Compact design with included storage trays
  • Chrome-plated handle provides secure grip
  • Significantly more affordable than premium brands

Cons

  • Weight range tops out at 44 lbs — not enough for heavy lifters
  • Adjustment mechanism is slightly slower than dial systems

For those who want adjustable dumbbells without the premium price of Bowflex, the ATIVAFIT Adjustable Dumbbells are the best alternative. Each dumbbell adjusts from 5.5 to 44 lbs using a twist-lock mechanism, replacing 12 sets of fixed weights. The chrome-plated handles provide a secure grip, and the included storage trays keep them organized. While the 44-lb max may not satisfy advanced lifters, it is sufficient for most apartment gym users.

Check Price on Amazon
Black Mountain Tube Resistance Bands
#5

Black Mountain Tube Resistance Bands

Most Versatile

Pros

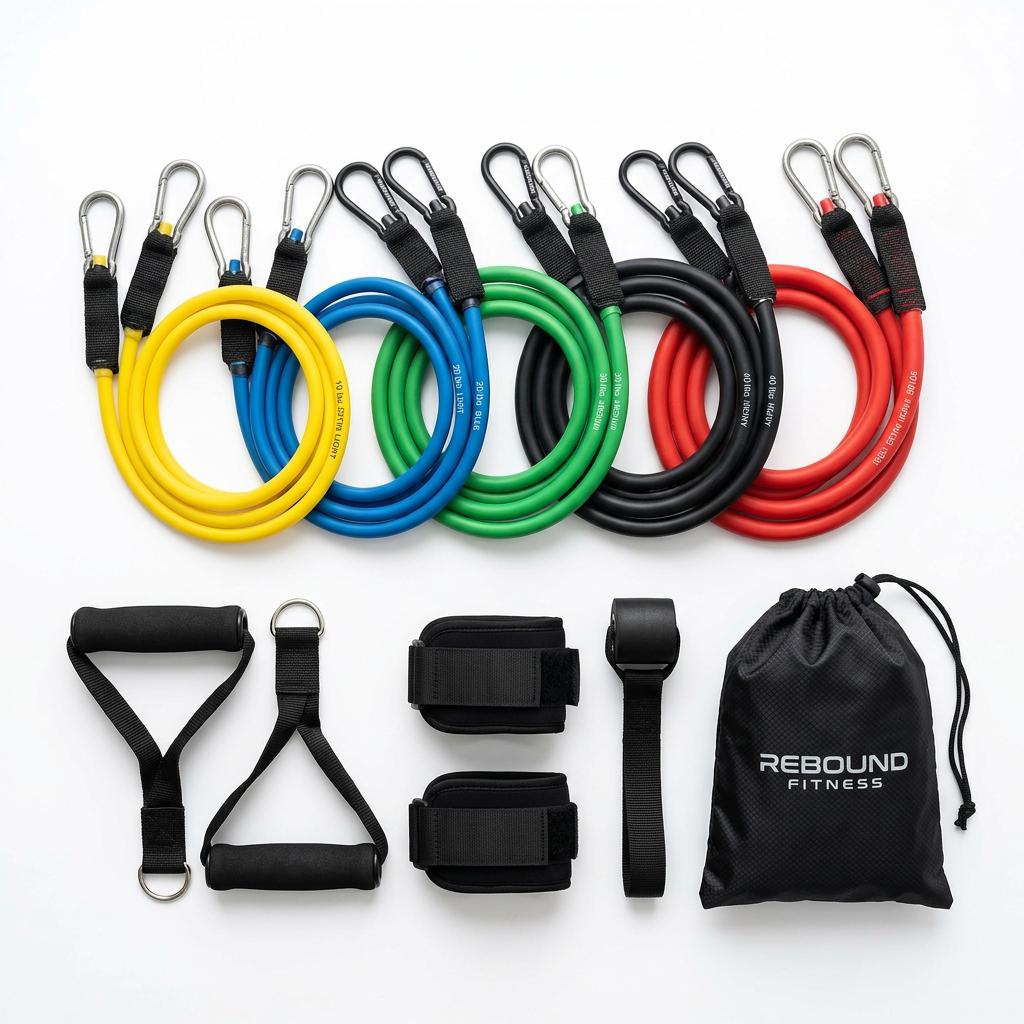
  • Set of 5 color-coded tubes with stackable resistance up to 75 lbs
  • Includes handles, ankle straps, door anchor, and exercise chart
  • Metal clip system is more durable than cheaper alternatives
  • Lifetime warranty against manufacturing defects

Cons

  • Maximum 75 lbs combined may not challenge very strong users
  • Metal clips can pinch fingers if not handled carefully

The Black Mountain Tube Bands are the most versatile resistance training tool for DIY apartment gyms. Unlike loop bands, tube bands with handles mimic the feel of cable machine exercises — chest presses, lat pulldowns, tricep pushdowns, and bicep curls all feel natural. The metal clip system is significantly more durable than the plastic carabiners found on cheaper sets, and the lifetime warranty provides peace of mind. For under $30, this set enables dozens of exercises that would require a full cable station at a gym.

Check Price on Amazon