The 5 Best Ab Benches for Home Gyms in 2025: Decline & Adjustable Benches Tested
Research-backed guide to best ab benches home for small-space home gyms....
Follow this complete 12-week progressive calisthenics program. Master pushup, pull-up, pistol squat, and core progressions with minimal equipment in your home gym.
FTC Disclosure: This article contains affiliate links. We may earn a commission if you purchase through these links at no additional cost to you. This helps support our independent research and testing.
Progressive calisthenics represents the purest form of strength training—using only your bodyweight as resistance, you progress through increasingly difficult movement variations to build extraordinary strength, control, and muscle. Unlike weight training, where adding plates provides the progression, calisthenics demands mastery of movement patterns before advancing to the next level. This 12-week program provides structured progressions for every major movement pattern, requiring minimal equipment while delivering maximum results.
Progressive calisthenics operates on a simple principle: as you get stronger, you don't add weight—you change the leverage. A regular pushup loads approximately 65% of your bodyweight on your upper body. An archer pushup loads one arm with nearly your full bodyweight. A one-arm pushup requires you to manage your entire bodyweight through a single arm while maintaining rotational stability.
This progression system develops not just strength but also proprioception, core stability, and joint integrity in ways that traditional weight training cannot replicate. The result is a physique that looks as impressive as it performs—functional, balanced, and resilient.
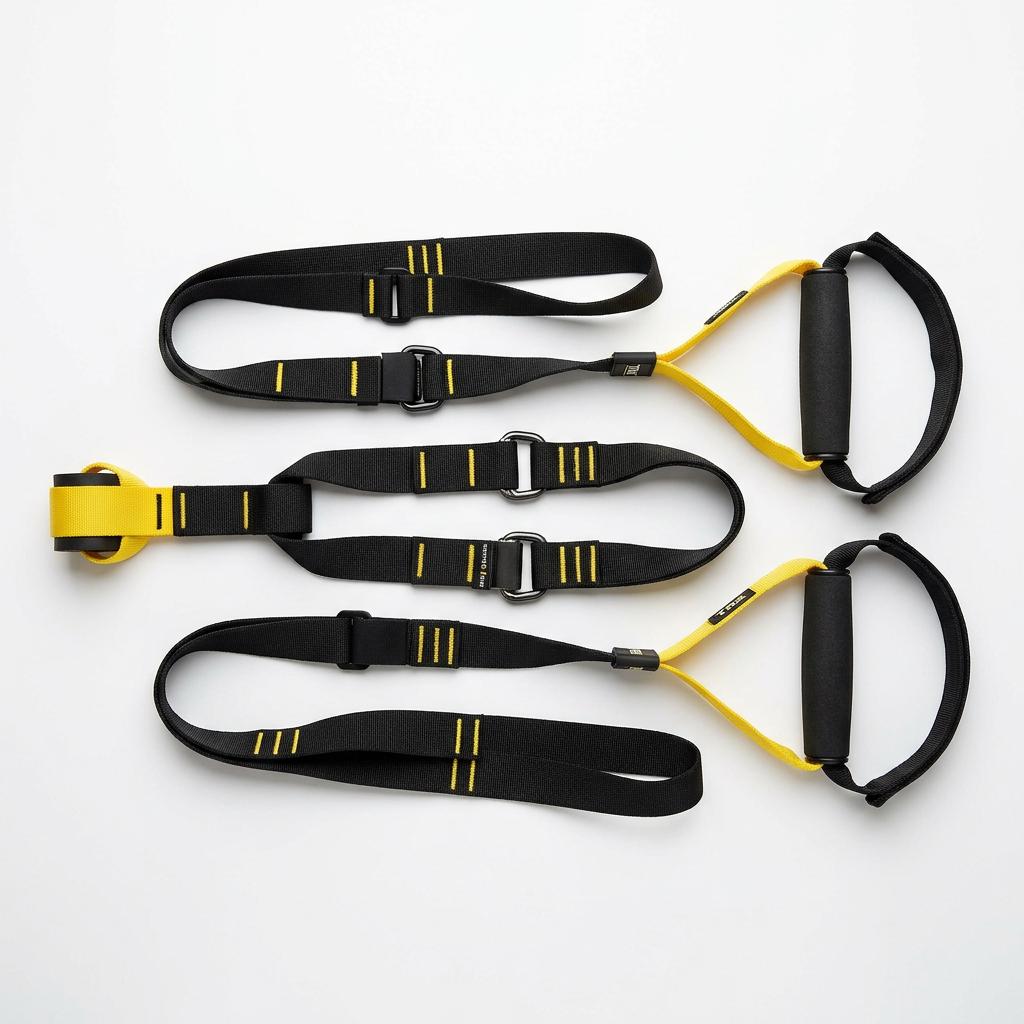
This program requires surprisingly little equipment:
| Equipment | Purpose | Alternative |
|---|---|---|
| Pull-up bar | Pulling exercises | Tree branch, sturdy door frame |
| Parallettes or dip bars | Dips, L-sits, handstand prep | Chairs (sturdy), countertop edges |
| Jump rope | Warm-up/conditioning | Jumping jacks, burpees |
| Yoga mat | Floor exercises | Carpet, towel |
| Resistance bands | Assistance for pull-ups | No alternative needed if using progression |
As an Amazon Associate, we earn from qualifying purchases. Learn more
As an Amazon Associate, we earn from qualifying purchases. Learn more
The push progression develops horizontal pressing strength, building chest, shoulders, and triceps.
Target: 3 sets of 15-20 reps with perfect form
Form Cues:
Common Mistake: Flaring elbows to 90 degrees (shoulder strain) or sagging hips (reduced core engagement).
Target: 3 sets of 10-12 reps
Progression: Bring hands together under your chest, forming a diamond shape with thumbs and index fingers. This shifts emphasis to the triceps and increases the percentage of bodyweight loaded on each arm.
Target: 3 sets of 6-8 reps per side
Progression: From the top position, shift your bodyweight onto one arm while extending the opposite arm straight out to the side. The extended arm provides minimal assistance while the working arm bears most of the load. Alternate sides each rep.
Regression: Perform on an incline (hands on bench or sturdy table) to reduce load while learning the movement pattern.
Target: Build toward 3 sets of 3-5 reps per side
Progression Sequence:
Options:
The pull progression develops vertical and horizontal pulling strength, building the back, biceps, and grip.
Target: 3 sets of 12-15 reps
Setup: Position a bar at waist height in a rack, or use a sturdy table. Lie underneath and pull your chest to the bar.
Form Cues:
Regression: Bend your knees and place feet flat to reduce the load.
Progression: Elevate your feet on a box or chair to increase the angle.
Target: 3 sets of 8-12 reps
Grip: Start with a grip slightly wider than shoulder-width, palms facing away (pronated).
Form Cues:
Regression: Use resistance bands for assistance. Loop the band over the bar and place your knee or foot in the loop.
Target: 3 sets of 4-6 reps per side
Progression: Pull up with one arm doing the majority of the work while the other arm assists. At the top, extend the assisting arm straight out to the side while keeping the working arm flexed. Lower under control and alternate sides.
Target: Build toward 3-5 muscle-ups
Progression Sequence:
As an Amazon Associate, we earn from qualifying purchases. Learn more
Target: Build toward 1 rep per side
Progression Sequence:
The leg progression develops unilateral lower body strength, building quads, glutes, and hamstrings while improving balance and stability.
Target: 3 sets of 20-30 reps
Form Cues:
Target: 3 sets of 12-15 reps per leg
Progression: Place your rear foot on a bench or sturdy chair behind you. Lower until your rear knee nearly touches the floor, then drive up through the front foot.
Benefits: Develops single-leg strength, hip stability, and addresses imbalances between legs.
Target: 3 sets of 5-8 reps per leg
Progression Sequence:
Key Technique Points:
Target: 3 sets of 5-8 reps per leg
Progression: The shrimp squat is a pistol squat variation where you grab your rear ankle behind you, creating a more challenging balance and mobility demand. It emphasizes the quads and develops extreme ankle and hip mobility.
Regression: Perform holding a light counterweight in front of you to assist balance.
Options:
The core progression develops midline stability and strength, which supports all other calisthenics movements.
Dead Bug: 3 sets of 10 reps per side
Plank: 3 sets of 45-60 seconds
Hanging Knee Raise: 3 sets of 10-12 reps
Hollow Body Hold: 3 sets of 30-45 seconds
L-Sit Progression:
Hanging Leg Raise: 3 sets of 8-12 reps (legs straight, raise to at least parallel)
V-Up: 3 sets of 12-15 reps
Dragon Flag Progression:
The front lever is an isometric hold where your body is held horizontally, parallel to the ground, while hanging from a bar.
Progression Sequence:
This program uses a full-body approach three times per week, with at least one rest day between sessions.
| Day | Focus |
|---|---|
| Monday | Workout A (Strength emphasis) |
| Tuesday | Rest or light conditioning |
| Wednesday | Workout B (Volume emphasis) |
| Thursday | Rest |
| Friday | Workout C (Skill/technique emphasis) |
| Saturday | Rest or active recovery |
| Sunday | Rest |
| Exercise | Sets x Reps | Rest | Notes |
|---|---|---|---|
| Push progression (current level) | 5 x 3-5 | 2-3 min | Lower reps, maximum effort |
| Pull progression (current level) | 5 x 3-5 | 2-3 min | Lower reps, maximum effort |
| Leg progression (current level) | 5 x 3-5 per leg | 2-3 min | Lower reps, maximum effort |
| Core progression (current level) | 4 x 30-45 sec | 90 sec | Isometric holds |
| Exercise | Sets x Reps | Rest | Notes |
|---|---|---|---|
| Push progression (one level easier) | 4 x 8-12 | 90 sec | Higher reps for hypertrophy |
| Pull progression (one level easier) | 4 x 8-12 | 90 sec | Higher reps for hypertrophy |
| Leg progression (one level easier) | 4 x 8-12 per leg | 90 sec | Higher reps for hypertrophy |
| Core progression (one level easier) | 3 x 45-60 sec | 60 sec | Extended holds |
Note: For volume days, use an easier progression level than your current strength level. If you're working on archer pushups for strength, use diamond pushups for volume.
| Exercise | Sets x Reps | Rest | Notes |
|---|---|---|---|
| Next-level push progression | 5 x 2-3 | 2-3 min | Practice the next progression |
| Next-level pull progression | 5 x 2-3 | 2-3 min | Practice the next progression |
| Next-level leg progression | 5 x 2-3 per leg | 2-3 min | Practice the next progression |
| Next-level core progression | 4 x 10-20 sec | 90 sec | Practice the next progression |
| Current-level core (volume) | 2 x max hold | 60 sec | Endurance work |
| Week | Push Level | Pull Level | Leg Level | Core Level | Focus |
|---|---|---|---|---|---|
| 1-2 | Standard pushup | Inverted row | Bodyweight squat | Plank/dead bug | Foundation |
| 3-4 | Diamond pushup | Standard pull-up | Bulgarian split squat | Hanging knee raise | Building |
| 5-7 | Archer pushup | Archer pull-up | Pistol squat progression | L-sit/leg raise | Intermediate |
| 8-10 | One-arm progression | Muscle-up progression | Shrimp squat | Dragon flag | Advanced |
| 11-12 | Advanced variations | One-arm pull-up prep | Advanced variations | Front lever | Mastery |
Every 6th week, implement a deload:
Week 12 is a testing week—attempt your maximum reps or hardest progression levels to assess progress before beginning a new cycle.
Your training log for this program should track:
Progressive calisthenics offers a unique proposition: extraordinary strength development with virtually no equipment investment. The progressions outlined in this program can take you from basic pushups to one-arm variations, from inverted rows to muscle-ups, and from bodyweight squats to pistol squats. The journey requires patience, consistency, and a willingness to master each level before advancing.
The 12-week timeline is a guideline, not a rule. Some trainees will progress faster; others will need more time at each level. Respect where you are, do the work required at your current level, and trust that the next progression will come when you're ready for it. The strength you build through calisthenics is earned, not given—and that makes it exceptionally valuable.
Ready to add external resistance? See our Weighted Calisthenics Guide for the next phase of bodyweight strength training.