How to Fix a Wobbly Adjustable Bench: A Complete Troubleshooting Guide
A comprehensive troubleshooting guide for fixing wobbly adjustable weight benches. Learn to diagnose causes, level floor...
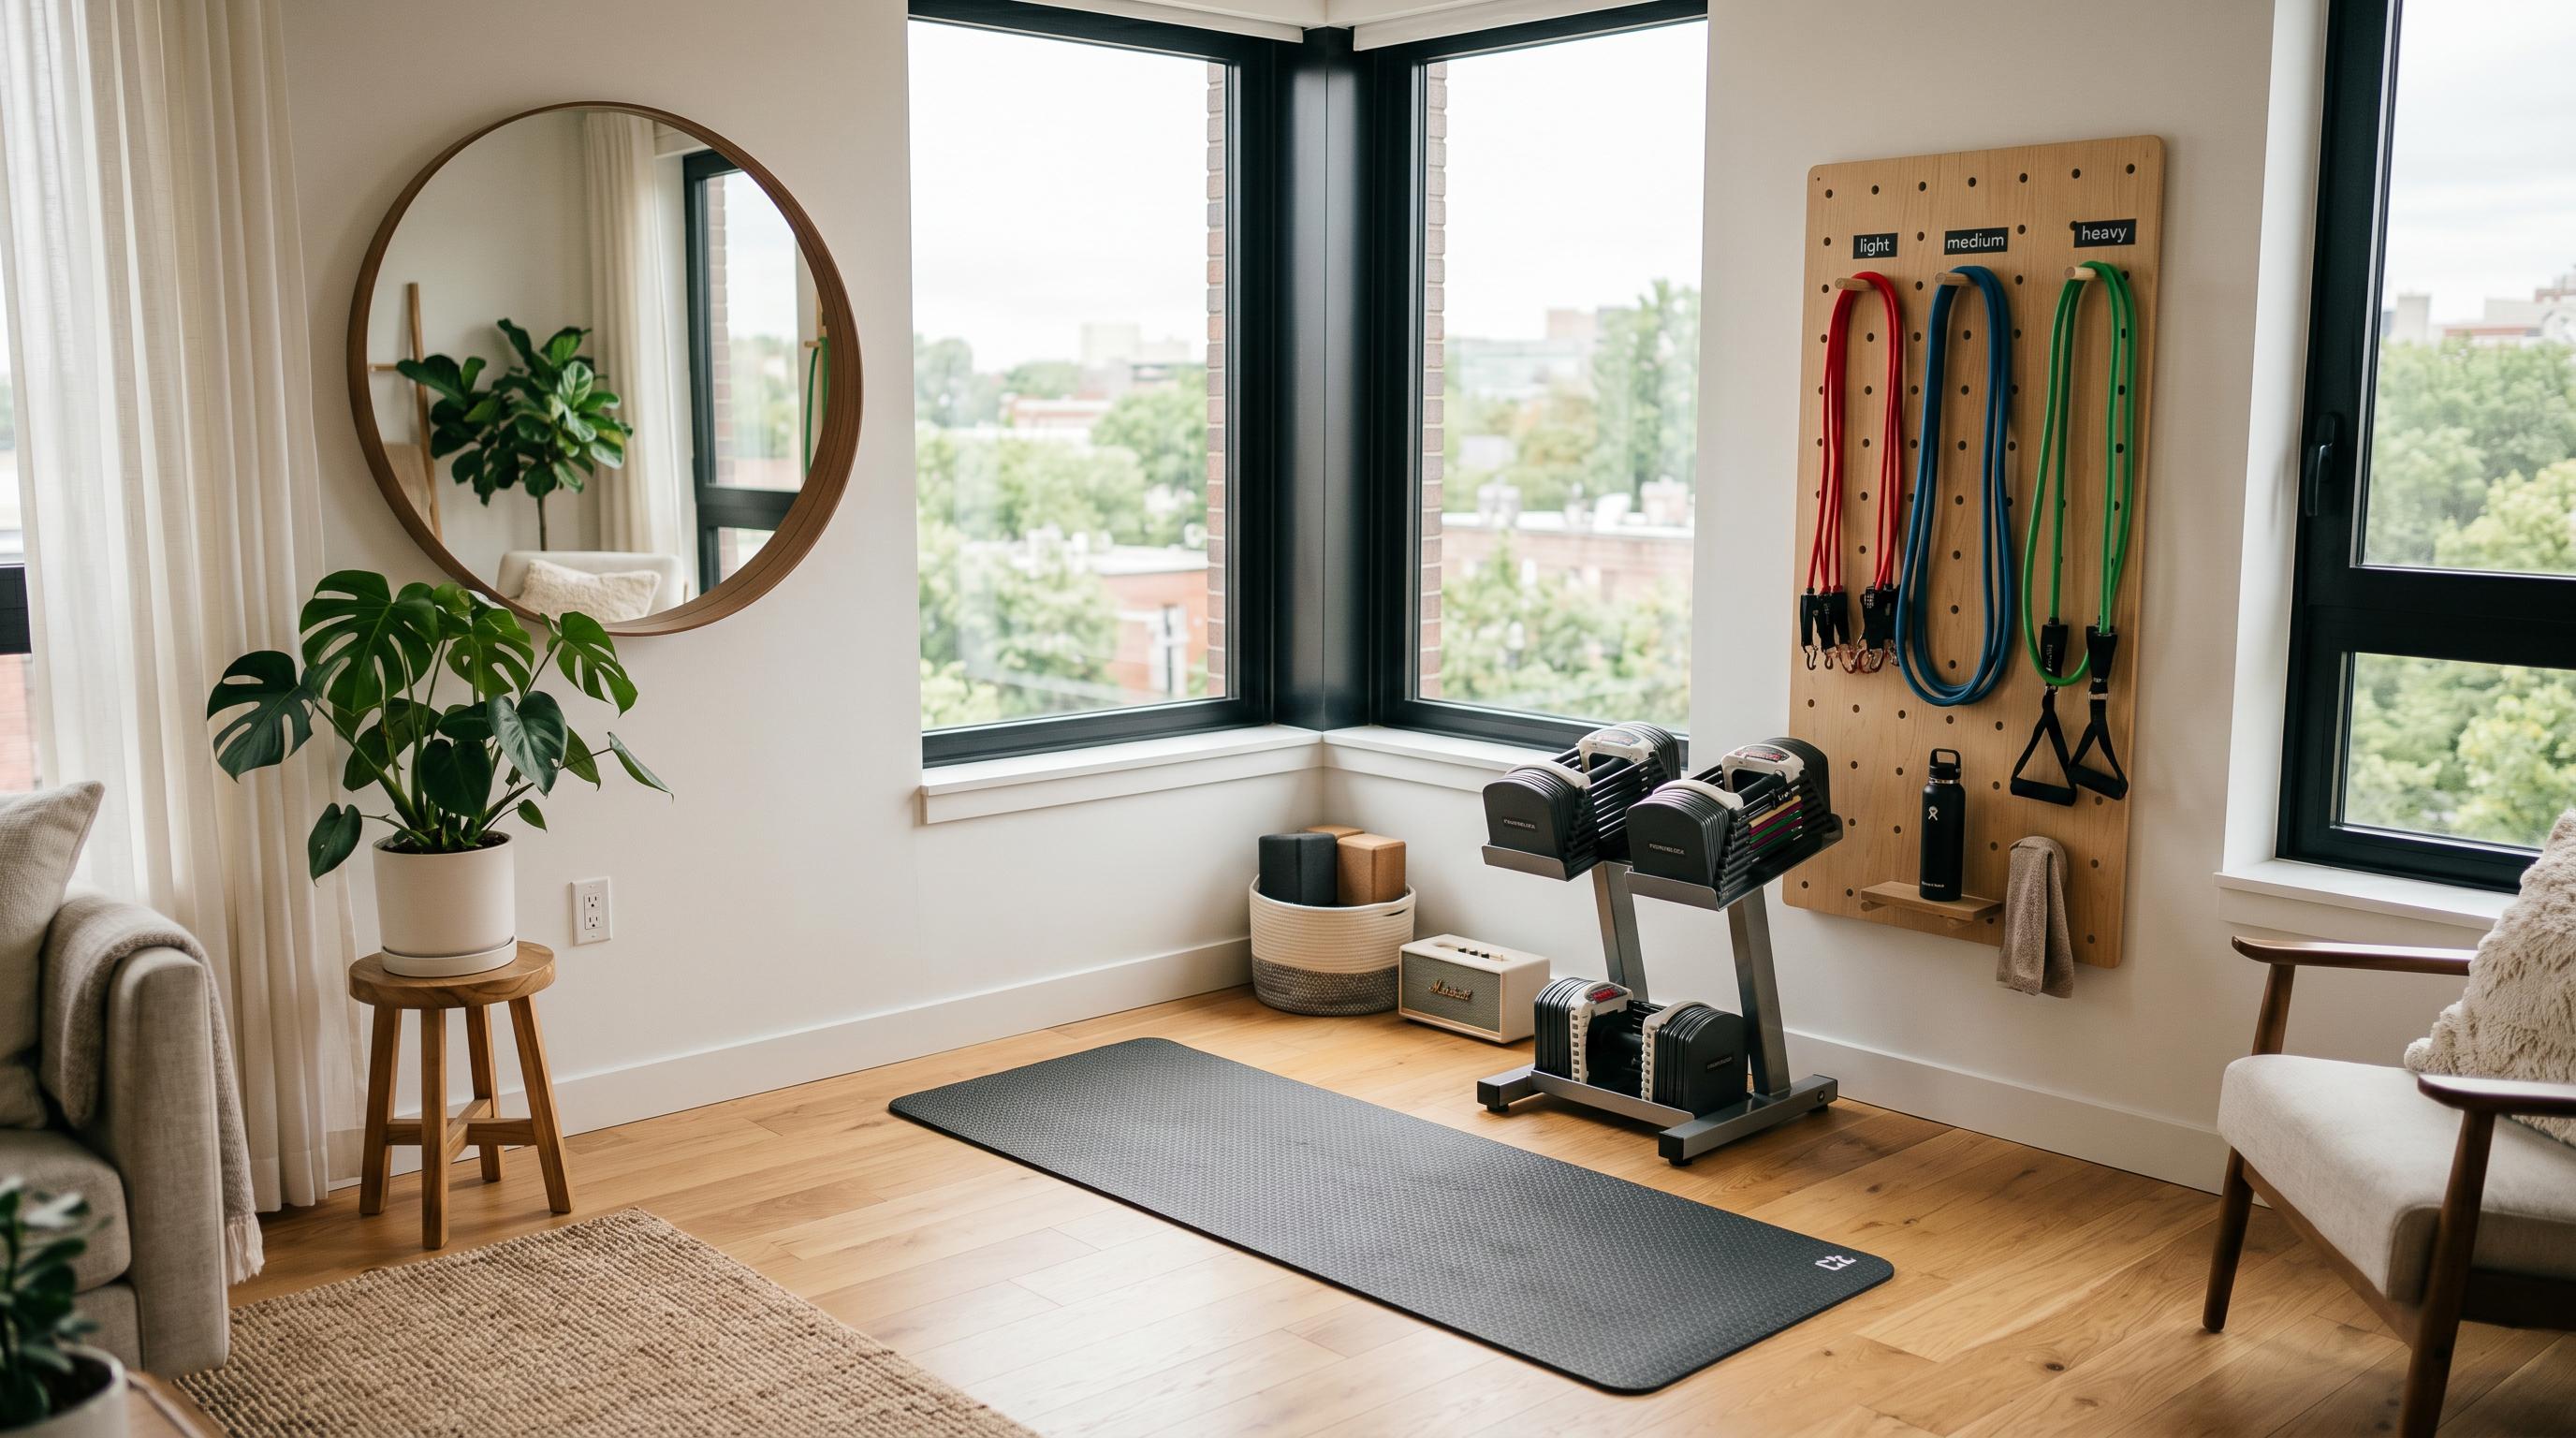
A comprehensive guide to renovating a space into a home gym, covering planning, electrical needs, flooring installation, lighting, ventilation, mirrors, wall protection, equipment layout, storage built-ins, and budget breakdown.
SnugGym is reader-supported. When you buy through links on our site, we may earn an affiliate commission at no extra cost to you.
Converting an existing space into a dedicated home gym represents one of the most impactful home improvements for fitness-focused individuals. Unlike equipment purchases that depreciate and require upgrading, well-executed renovation creates permanent value—increasing home resale appeal, protecting property from equipment damage, and establishing a training environment that supports decades of consistent exercise.
This guide walks through the complete renovation process from initial planning through final equipment installation, with realistic timelines, budget ranges, and decision frameworks for each phase.
Successful gym renovation begins with comprehensive planning that prevents costly mid-project changes. Dedicate 2--4 weeks to planning before purchasing materials or engaging contractors.
Measure and document your existing space with precision:
| Measurement | How to Measure | Why It Matters |
|---|---|---|
| Floor area | Length x width at widest points | Determines equipment capacity and layout options |
| Ceiling height | Floor to lowest obstruction (ducts, beams) | Affects rack height, overhead press clearance, pull-up bar installation |
| Doorway dimensions | Width, height, and swing direction | Equipment must fit through; affects placement of large items |
| Window locations | Size, height, and operation type | Natural light, ventilation, wall space for mirrors/equipment |
| Electrical outlets | Location, amperage, circuit mapping | Equipment power requirements; lighting additions |
| HVAC vents/returns | Location and airflow capacity | Climate control for high-exertion spaces |
| Floor condition | Levelness, cracks, moisture, substrate type | Determines flooring preparation needs |
| Wall construction | Stud spacing, drywall vs. concrete, insulation | Equipment mounting, mirror installation, soundproofing |
Define your primary training modalities before designing the space:
| Training Focus | Space Priority | Electrical Needs | Special Requirements |
|---|---|---|---|
| Strength/Powerlifting | Rack placement; flooring durability | Standard 15A | High load capacity; mirror at rack |
| Olympic Weightlifting | Platform space; ceiling height | Standard 15A | Rubber flooring; 9'+ ceilings preferred |
| Bodybuilding | Multiple stations; mirror coverage | Standard 15A | Dumbbell storage; varied equipment |
| Cardio-focused | Machine footprints; ventilation | 20A circuits for treadmills | HVAC upgrade; entertainment wiring |
| Cross-Functional | Open floor space; versatile flooring | Standard 15A | Foldable equipment; modular storage |
| Recovery/Mobility | Open floor; calm environment | Standard 15A | Sound absorption; soft lighting |
| Category | Percentage | Typical Range (200 sq ft) |
|---|---|---|
| Flooring | 20--25% | $800--$2,000 |
| Electrical/Lighting | 10--15% | $400--$1,200 |
| Ventilation | 5--10% | $200--$800 |
| Mirrors | 10--15% | $400--$1,200 |
| Wall protection/Soundproofing | 10--15% | $400--$1,200 |
| Storage/Built-ins | 10--15% | $400--$1,000 |
| Paint/Finishes | 5--10% | $200--$600 |
| Contingency | 10% | $300--$600 |
| Total | 100% | $3,300--$8,600 |
For DIY execution, labor costs are eliminated but tool rental/purchase ($200--$500) should be added. Contractor-managed projects typically add 50--100% to material costs for labor.
| Work Type | Permit Required? | Typical Cost | Timeline Impact |
|---|---|---|---|
| Electrical (new circuits) | Usually yes | $100--$300 | +1--2 weeks |
| Electrical (fixture swaps) | Usually no | -- | None |
| Flooring (floating) | No | -- | None |
| Flooring (adhered) | Rarely | -- | None |
| HVAC modifications | Often yes | $150--$400 | +1--2 weeks |
| Structural modifications | Yes | $200--$500 | +2--4 weeks |
| Mirror installation | No | -- | None |
| Painting | No | -- | None |
Contact your local building department early in planning. Electrical permits in particular affect timeline significantly.
Home gyms have specific electrical requirements that standard residential construction rarely anticipates.
| Equipment | Typical Draw | Recommended Circuit | Notes |
|---|---|---|---|
| Treadmill | 12--15A (peak) | Dedicated 20A | Startup surge exceeds continuous rating |
| Elliptical | 4--8A | Standard 15A shared | Lower draw than treadmills |
| Exercise bike | 3--6A | Standard 15A shared | Minimal electrical demand |
| Rowing machine | 0--4A | Standard 15A shared | Magnetic/air types often self-powered |
| Cable machine | 0--2A | Standard 15A shared | Selectorized only; plate-loaded needs none |
| Entertainment/TV | 2--4A | Standard 15A shared | Add to lighting circuit |
| LED lighting (full room) | 2--4A | Standard 15A | Very efficient vs. fluorescent/incandescent |
| Ceiling fans | 1--2A | Standard 15A shared | Minimal draw |
DIY capability: Experienced homeowners can handle fixture installation and outlet additions on existing circuits. New circuit installation requires licensed electrician in virtually all jurisdictions.
Gym flooring protects the subfloor, reduces noise, provides traction, and defines the space aesthetically. Proper installation is critical for long-term performance.
| Type | Thickness | Cost/sq ft | Best For | Installation |
|---|---|---|---|---|
| Rubber stall mats | 3/4" | $2.00--$2.50 | Heavy lifting; budget builds | Loose lay; tape seams |
| Rubber rolls | 3/8"--1/2" | $3.00--$5.00 | Large areas; seamless look | Loose lay or adhesive |
| Interlocking EVA foam | 3/8"--1" | $1.50--$3.00 | Bodyweight; light cardio; budget | Puzzle assembly |
| Plywood + rubber | 3/4" + 3/8" | $4.00--$6.00 | Olympic lifting; maximum protection | Screw plywood; rubber on top |
| Vinyl plank (SPC) | 5mm--8mm | $3.00--$6.00 | Aesthetic spaces; light fitness | Click-lock floating |
| Carpet tile | 1/4"--3/8" | $2.00--$4.00 | Yoga/mobility zones; budget | Adhesive or loose lay |
For rubber stall mats (most common home gym choice):
Critical detail: Leave 1/4" expansion gap at walls—rubber expands and contracts with temperature. Mats that fit wall-to-wall will buckle in warm conditions.
Proper lighting prevents injury, supports mood and energy, and enables video recording if content creation is a goal.
| Activity Type | Recommended Lux | Color Temperature (K) | CRI |
|---|---|---|---|
| General fitness | 300--500 lux | 4000--5000K | 80+ |
| Strength training | 500--750 lux | 4000--5000K | 85+ |
| Detail work (cable exercises) | 750--1000 lux | 5000--6500K | 90+ |
| Recovery/mobility | 200--300 lux | 2700--3500K | 80+ |
Layered lighting approach:
LED recommendations:
| Fixture Type | Output | Cost | Application |
|---|---|---|---|
| LED panel (2x4) | 4,000--6,000 lumens | $80--$150 | Main ambient lighting |
| LED high-bay | 10,000--15,000 lumens | $100--$200 | High ceilings (10'+) |
| LED strip (per 16 ft) | 1,500--2,500 lumens | $20--$40 | Accent; mirror backlighting |
| Adjustable track head | 800--1,500 lumens | $30--$60 each | Task lighting; flexibility |
Install fixtures on dimmer switches for adjustability. Wiring lighting in zones (ambient separate from task/accent) provides maximum control.
Home gyms generate substantial heat and humidity that standard residential HVAC rarely manages adequately.
| Space Size | Minimum CFM | Recommended Approach |
|---|---|---|
| Under 150 sq ft | 50--100 CFM | Existing HVAC + portable fan |
| 150--300 sq ft | 100--200 CFM | Upgraded HVAC vent; ceiling fan; portable dehumidifier |
| 300--500 sq ft | 200--400 CFM | Dedicated mini-split or exhaust fan; dehumidifier |
| 500+ sq ft | 400+ CFM | Professional HVAC assessment; dedicated system likely needed |
Ventilation strategies:
Air quality additions:
Mirrors serve critical functional purposes in gyms—form checking, technique self-assessment, and spatial expansion—beyond their aesthetic value.
| Attribute | Specification | Notes |
|---|---|---|
| Thickness | 1/4" minimum | 1/8" flexes during installation and use; unsafe |
| Backing | Safety backing (vinyl) | Prevents shattering on impact; required by code in many areas |
| Edges | Polished or beveled | Prevents cuts; cleaner appearance |
| Height | 24" from floor to 72"+ | Allows viewing during floor exercises and standing movements |
| Width | Minimum 48" per station | Multiple users or wide exercise viewing |
| Type | Gym mirror or "activity mirror" | Specifically manufactured for fitness environments |
Installation options:
| Method | Cost | Durability | Best For |
|---|---|---|---|
| Mirror clips (top/bottom) | $10--$20 | Good | Standard drywall; easy adjustment |
| J-channel (bottom) + clips (top) | $15--$30 | Very good | Clean look; secure support |
| Adhesive direct-mount | $20--$40 in materials | Permanent | Concrete/block walls; maximum security |
| Framed mirror | $30--$100+ | Excellent | Aesthetic preference; easier installation |
Critical: Do not install standard bathroom mirrors in gyms. The thinner glass, lack of safety backing, and smaller sizes create hazards and functional limitations. Invest in gym-grade mirrors from fitness equipment suppliers or glass specialists.
Equipment contact, dropped weights, and repeated motion gradually damage walls. Protective measures installed during renovation prevent costly repairs.
| Material | Thickness | Cost/sq ft | Application |
|---|---|---|---|
| Rubber wall mats | 3/8"--3/4" | $3.00--$6.00 | Impact zones behind racks; deadlift platforms |
| PEGboard/MDF panels | 1/4"--1/2" | $1.50--$3.00 | Storage walls; moderate protection |
| Plywood (birch/MDO) | 1/2"--3/4" | $2.00--$4.00 | Full wall coverage; equipment mounting surface |
| Vinyl wall base | 4"--6" height | $1.00--$2.00/ft | Floor-wall junction protection |
| Acoustic panels | 1"--2" | $3.00--$8.00 | Sound absorption; moderate impact protection |
Install protection to 8 feet of height in the strength zone (where barbell contact occurs) and 4 feet in the cardio zone. Floor-to-ceiling protection is unnecessary unless using the wall for climbing or advanced gymnastics.
With infrastructure complete, equipment placement determines daily functionality.
Small Space (100--150 sq ft):
[Wall: Mirror]
[Rack + Bench] [Dumbbell storage]
    [Open floor for movement]
[Cardio machine] [Storage shelving]
Medium Space (150--300 sq ft):
[Wall: Mirror + Plate Storage]
[Rack + Bench]    [Open floor: lifting platform]
[Dumbbell Rack]   [Cardio zone: bike + rower]
[Storage wall]    [Mobility corner]
Built-in storage integrated during renovation provides superior organization to freestanding alternatives.
| Built-In | Cost | Function | DIY Difficulty |
|---|---|---|---|
| Recessed wall niche | $200--$500 | Small item storage; water bottles, phones, remotes | Moderate |
| Wall-mounted shelving (integrated) | $150--$400 | Equipment storage; displays | Easy |
| Ceiling-mounted storage rack | $100--$300 | Overhead storage for seasonal/light items | Moderate |
| Bench with integrated storage | $300--$800 | Seating plus plate/accessory storage | Moderate |
| Custom dumbbell rack (built-in) | $500--$1,500 | Permanent, space-efficient dumbbell storage | Advanced |
| TV mount (recessed) | $200--$500 | Flush-mount entertainment; space saving | Moderate |
| Task | DIY Suitable? | Contractor Cost | DIY Cost | Time (DIY) |
|---|---|---|---|---|
| Painting | Yes | $300--$600 | $100--$200 | 1--2 days |
| Flooring (rubber mats) | Yes | $500--$1,000 | $300--$600 | 1 day |
| Flooring (rolls/adhesive) | Maybe | $800--$1,500 | $400--$700 | 1--2 days |
| Mirror installation | Maybe | $400--$800 | $200--$500 | Half day |
| Electrical (fixtures) | Maybe | $400--$800 | $150--$300 | 1 day |
| Electrical (new circuits) | No | $800--$2,000 | N/A | N/A |
| Wall protection | Yes | $600--$1,200 | $300--$600 | 1--2 days |
| Storage built-ins | Yes | $1,000--$3,000 | $400--$800 | 2--3 days |
| Ventilation additions | Maybe | $1,500--$4,000 | $600--$1,500 | 1--3 days |
| Full project management | -- | $3,000--$8,000+ | $2,000--$4,500 | 2--4 weeks |
DIY if: You have basic construction skills, adequate time, and the project involves no electrical permits.
Contractor if: The project involves multiple trades, permit-required work, or you need completion within a defined timeline.
| Phase | Duration | Dependencies |
|---|---|---|
| Planning and permitting | 2--4 weeks | -- |
| Material procurement | 1--2 weeks | Permits approved |
| Electrical work | 1--3 days | Materials on-site |
| Flooring installation | 1--2 days | Electrical complete |
| Wall protection/mirrors | 1--2 days | Flooring complete |
| Lighting installation | 1 day | Electrical complete |
| Ventilation | 1--2 days | Electrical complete |
| Painting/finishes | 2--3 days | Protection complete |
| Equipment installation | 1--2 days | All construction complete |
| Total timeline | 4--8 weeks | DIY on weekends; contractor continuous |
Q: What's the most important renovation element? A: Flooring. Proper rubber flooring protects your subfloor, reduces noise, provides safe traction, and creates the gym aesthetic. Skimp on flooring and you'll regret it within months. Invest in flooring and you'll benefit for decades.
Q: Can I renovate a gym in phases? A: Absolutely. Phase 1: flooring + electrical. Phase 2: mirrors + wall protection. Phase 3: storage built-ins + finishes. This approach spreads cost over time and allows usage patterns to inform later decisions.
Q: How much does a full home gym renovation cost? A: DIY: $2,000--$5,000 for a 200 sq ft space. Contractor-managed: $5,000--$15,000+. The range reflects equipment quality choices (flooring thickness, mirror quality, electrical scope) and regional labor costs.
Q: Will a home gym renovation increase home value? A: Moderately. Dedicated gym spaces appeal to fitness-focused buyers but may limit appeal to others. The renovation elements with best ROI are proper flooring, electrical upgrades, and lighting—features useful for any room purpose. Avoid permanent built-ins that only serve fitness.
Q: What's the biggest renovation mistake? A: Inadequate electrical planning. Adding circuits after flooring and wall protection are installed requires tearing up completed work. Always plan electrical for current plus 50% future expansion.
A well-executed home gym renovation transforms not just a room but your relationship with fitness. The permanence of a dedicated, properly equipped space removes friction from workout adherence—no setup, no teardown, no compromise.
Prioritize flooring, electrical, and ventilation as the infrastructure foundation. Add mirrors, lighting, and wall protection for functionality and safety. Complete with storage and aesthetic finishes that make the space inviting.
For most homeowners, a phased DIY approach starting with flooring delivers the best return on investment. Engage professionals for electrical and HVAC work that requires permits and expertise. The result: a gym that supports your fitness goals for decades while adding genuine value to your home.