The 5 Best Ab Benches for Home Gyms in 2025: Decline & Adjustable Benches Tested
Research-backed guide to best ab benches home for small-space home gyms....
Master dips at home with form tutorials, progressions, equipment recommendations, and safety tips. Build chest and tricep strength with expert guidance from SnugGym.
The dip is arguably the most effective bodyweight exercise for building upper-body pressing strength and mass. Electromyography research places dip muscle activation on par with the bench press for chest development while simultaneously engaging the triceps and anterior deltoids to a greater degree. For home gym enthusiasts, the dip represents a cornerstone movement that requires minimal equipment but delivers maximal results.
This guide covers everything from equipment selection to advanced dip variations, with science-backed form instruction and progressive programming.
A comprehensive 2018 study in the Journal of Strength and Conditioning Research measured muscle activation during parallel bar dips:
| Muscle | Activation (% MVC) | Comparable Exercise |
|---|---|---|
| Pectoralis major (sternal) | 95% | Barbell bench press (92%) |
| Anterior deltoid | 88% | Military press (85%) |
| Triceps brachii (long head) | 82% | Close-grip bench (80%) |
| Pectoralis major (clavicular) | 75% | Incline press (78%) |
| Lower trapezius | 45% | Face pull (55%) |
| Rectus abdominis | 38% | Standard plank (35%) |
MVC = Maximum Voluntary Contraction
The dip activates the chest at levels comparable to the bench press while engaging more stabilizer musculature. Unlike the bench press, dips require no spotter, no weights, and minimal equipment — making them ideal for home training.
| Model | Price | Capacity | Key Feature |
|---|---|---|---|
| Sportsroyals Dip Station | $$ | 400 lbs | Triangular base, height adjustable |
| RELIFE Rebuild Dip Station | $$ | 300 lbs | Width + height adjustable |
| Model | Price | Functions | Best For |
|---|---|---|---|
| Perfect Fitness Multi-Gym | $ | Pull-ups, dips, push-ups | Zero floor footprint |
| Lebert Fitness Equalizer | $$ | Dips, L-sits, rows, push-ups | Maximum versatility |
| Iron Gym Total Upper Body | $ | Pull-ups, dips, push-ups | Budget entry |
| Setup | Difficulty | Limitations |
|---|---|---|
| Two sturdy chairs (back-to-back) | Beginner | Stability, height, width |
| Kitchen counter corner | Beginner | Fixed width, limited depth |
| Park parallel bars | Intermediate | Weather dependent |
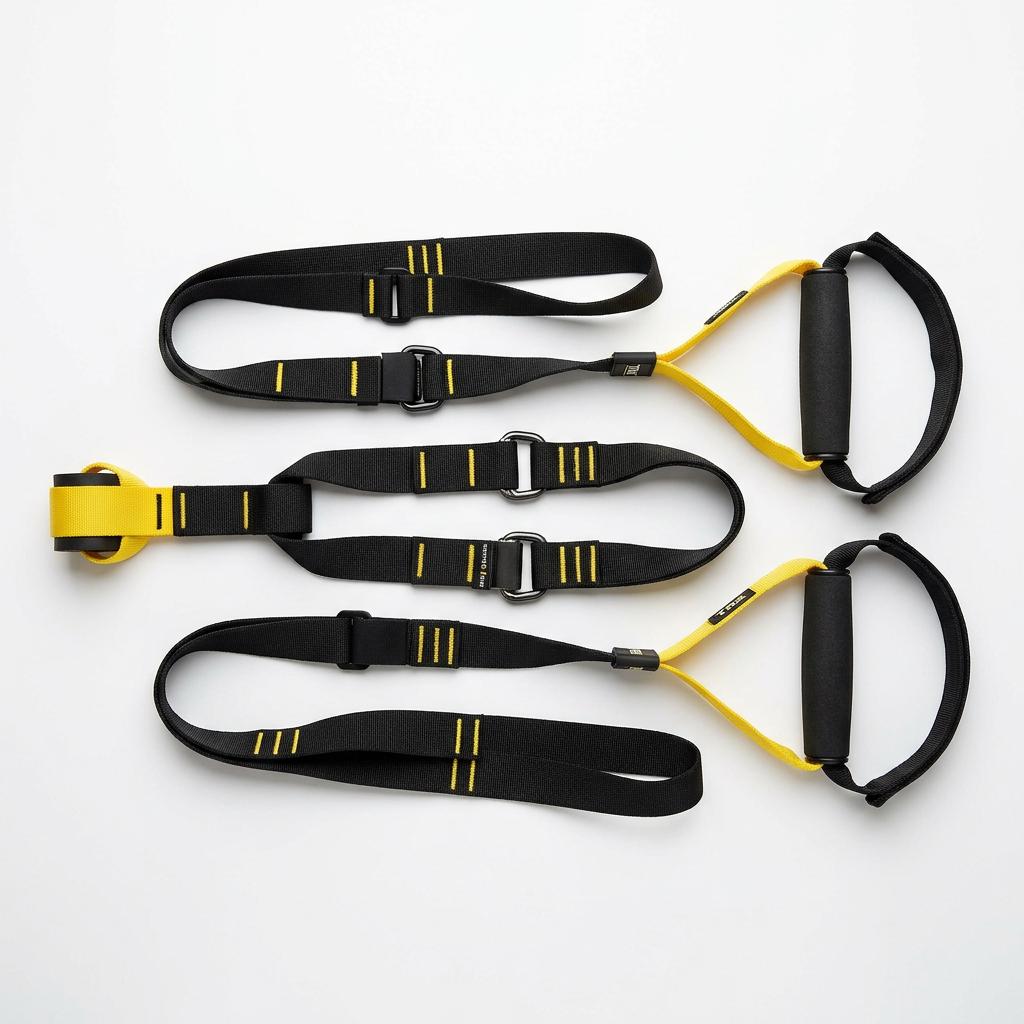
| Suspension trainer dips | Beginner–Advanced | Requires TRX/Jungle Gym |
Safety Warning: Chair dips (single chair, hands behind on seat) place the shoulder in extreme extension and internal rotation — a position associated with impingement. Use parallel setups only.
| Grip Width | Primary Emphasis | Shoulder Stress | Recommended For |
|---|---|---|---|
| Narrow (12–16") | Triceps | Lower | Tricep development, shoulder health |
| Standard (18–22") | Balanced chest/triceps | Moderate | General strength, hypertrophy |
| Wide (24–28") | Chest (outer) | Higher | Chest development (advanced) |
SnugGym Recommendation: Start with standard grip. Master form before varying width. Shoulder health always takes priority over muscle emphasis.
Setup: Two parallel surfaces (bench, chair, or dip station set low). Hands on one surface, feet on floor in front.
Execution:
Target: 3 × 10–15 reps
Note: This is the only chair-dip variation we recommend — feet on floor reduces the dangerous shoulder extension of traditional chair dips.
Setup: Same as Level 1, but feet elevated on a second bench or sturdy surface.
Execution: Identical to Level 1, but increased load due to elevated feet.
Target: 3 × 8–12 reps
Band-Assisted Setup: Loop resistance band over both handles. Kneel on band or place knees in loop for upward assistance.
Machine-Assisted: Use assisted dip machine if available at a commercial gym.
Target: 3 × 6–10 reps (minimal assistance needed)
Recommended Bands: WODFitters Resistance Bands
Setup: Full dip station or parallel bars. Bodyweight only.
Execution: Full range of motion as described in form section.
Target: 3 × 5–8 reps
Achievement: You have developed legitimate upper-body pressing strength. Most adults cannot perform a single bodyweight dip.
Loading Methods:
Progression Protocol: When you achieve 3 × 12 bodyweight dips, add 10 lbs and reduce to 3 × 6. Build to 3 × 12, then add another 10 lbs.
Advanced Targets:
| Body Weight | Added Weight | Classification |
|---|---|---|
| 150 lbs | +45 lbs | Intermediate |
| 180 lbs | +90 lbs | Advanced |
| 200+ lbs | +135 lbs | Elite |
| Variation | Primary Emphasis | Difficulty |
|---|---|---|
| Straight-bar dip | Triceps, lockout strength | Advanced |
| Ring dip | Stabilizer development | Advanced |
| Korean dip (bar behind back) | Lower chest, front delt | Advanced |
| L-sit dip | Core integration | Elite |
| Deficit dip (handles above shoulders) | Increased range of motion | Elite |
| Parameter | Setting |
|---|---|
| Sets | 4–6 |
| Reps | 3–6 |
| Rest | 2–3 minutes |
| Progression | Add weight when hitting 6 reps |
| Frequency | 2× per week |
Sample Workout:
| Parameter | Setting |
|---|---|
| Sets | 3–5 |
| Reps | 8–12 |
| Rest | 60–90 seconds |
| Progression | Add weight or reps |
| Frequency | 2–3× per week |
Sample Workout:
| Parameter | Setting |
|---|---|
| Sets | 2–4 |
| Reps | 15–25 |
| Rest | 30–60 seconds |
| Progression | Increase reps, decrease rest |
| Frequency | 2–3× per week |
The dip places significant stress on the anterior shoulder capsule. Protect your shoulders with these guidelines:
The dip loads the elbow joint in extension. Protect your elbows:
| Red Flag | Meaning | Action |
|---|---|---|
| Sharp shoulder pain | Impingement or strain | Stop, consult professional |
| Elbow clicking with pain | Tendon irritation | Reduce volume, add rest days |
| Wrist pain | Poor wrist position | Check grip, consider wrist wraps |
| Sternum pain | Costochondritis risk | Reduce range of motion |
| Exercise | Order | Sets × Reps |
|---|---|---|
| Dip (primary) | 1st | 4 × 5–8 (strength) |
| Push-up variation | 2nd | 3 × 10–12 |
| Overhead press | 3rd | 3 × 8–10 |
| Tricep extension | 4th | 2 × 12–15 |
| Exercise | Sets × Reps |
|---|---|
| Pull-up | 4 × 5–8 |
| Dip | 4 × 5–8 |
| Squat | 4 × 8–10 |
| Row | 3 × 10–12 |
| Core | 3 × 30–60s |
Q: Are dips bad for your shoulders? A: Dips are safe for healthy shoulders when performed with proper form. Individuals with existing shoulder impingement, labral tears, or chronic instability should consult a physical therapist before dipping. The forward-lean position protects the shoulder joint compared to vertical dips.
Q: Can women do dips? A: Absolutely. Dips are not gender-specific. Women may progress through the ladder starting with assisted variations. Relative strength differences disappear with consistent training.
Q: Should I do dips every day? A: No. Dips are a compound exercise requiring recovery. Train dips 2–3 times per week with at least 48 hours between sessions. Daily dip training leads to overuse injuries.
Q: Dips or push-ups — which is better? A: Both have value. Dips load the chest and triceps with full body weight (higher absolute load), while push-ups offer more variation and accessibility. Include both for complete development.
Q: Why can't I feel dips in my chest? A: Three likely causes: (1) torso too vertical — lean forward 15–30 degrees; (2) descending too shallow — aim for upper arm parallel to floor; (3) grip too narrow — use standard width (18–22").
Last updated: June 18, 2026. As an Amazon Associate, SnugGym earns from qualifying purchases.